
This article is no longer updated.
Please go to our new Intercom knowledge base to ensure you're seeing the most recent version.
The link above takes you directly to the equivalent article on Intercom.
The Payment Summary lists all invoices, the amount of the invoice, amount paid, and amount outstanding and summarises by Due Date. It also displays any credit amounts not yet applied to an invoice.
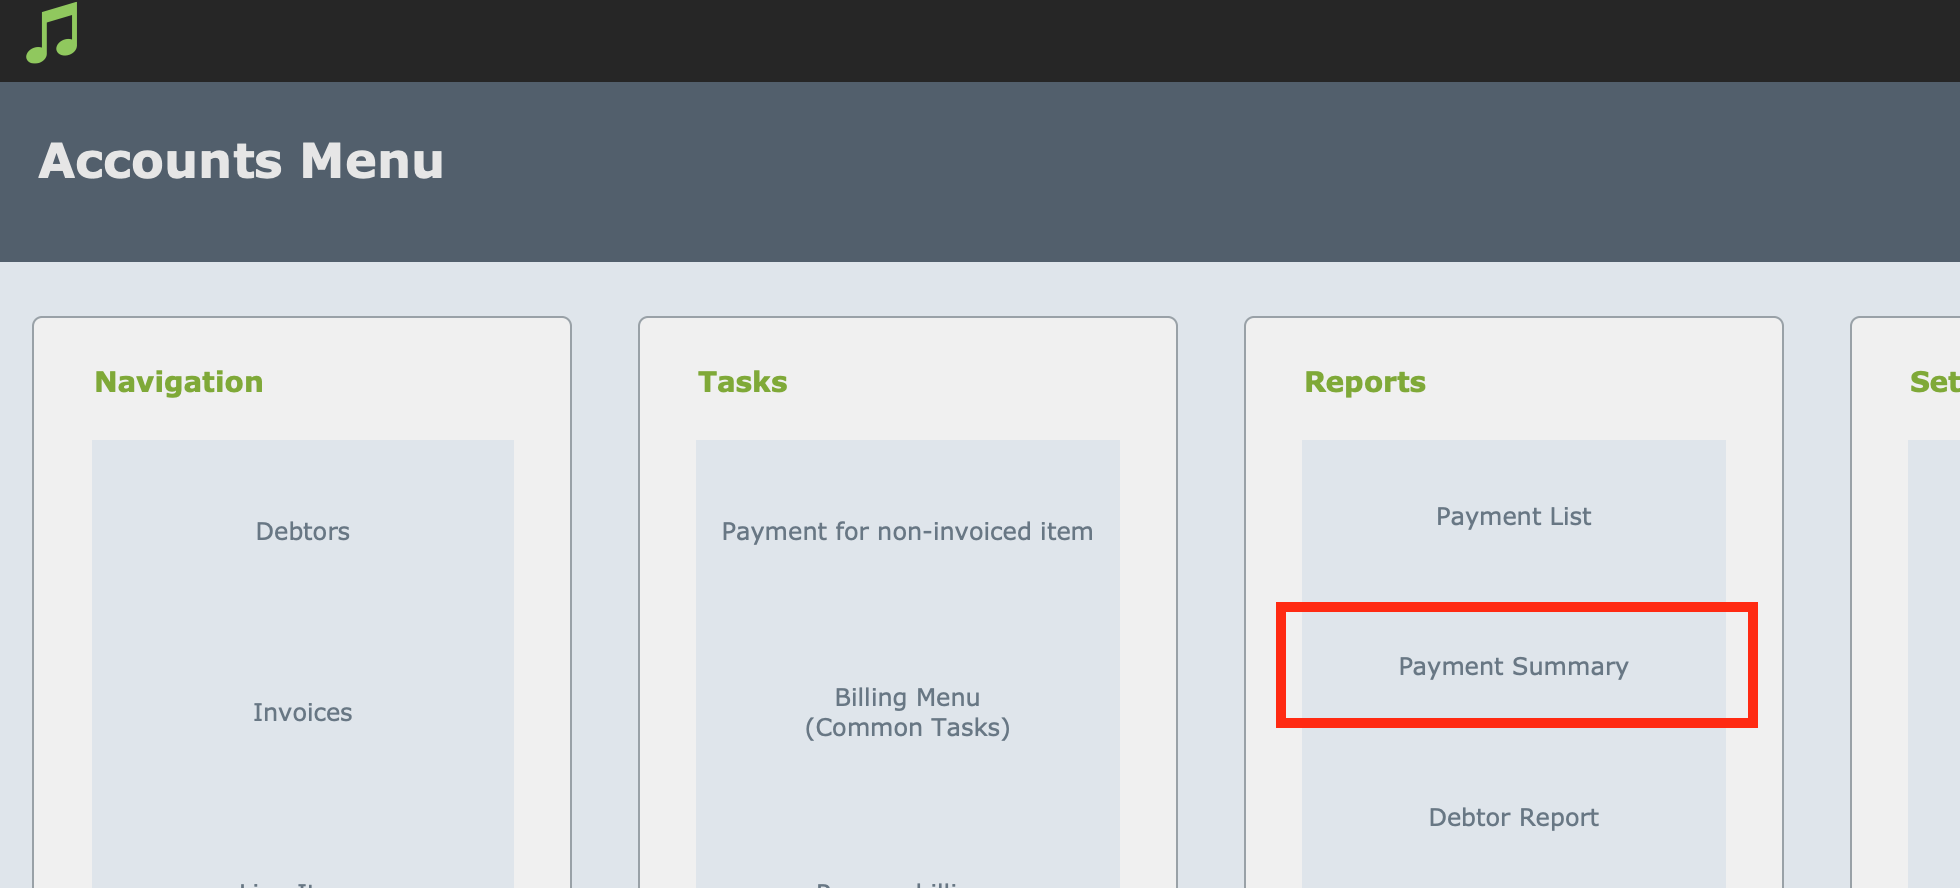
To find this script, navigate from the Home Screen to Accounts > Reports : Payment Summary.
NOTE: This is only available if you have enabled invoice generation. If your General Settings are not set to generate invoices, you will not see the Accounts menu when you select the Accounts button, you will go directly to the Student Accounts list view.
When you select this button, you will be taken to the Student Accounts List View layout, and the script will pause in find mode. You will notice that there are two find requests on your screen. The first has 'Invoiced' in the Status field and the second has 'Payment' in the Category field, and '=' in the Invoice Ref field. If you select Continue without editing the search criteria, the system will find ALL Invoiced line items, as well as any 'overpayments' (credit amounts) that have been made.
You can edit the search criteria, if you would like to limit the report to a particular time period. For example, you may want to enter a date range in the Date Billed field on the first request (eg. 1/3/2015...31/3/2015) or you might want all invoices greater than a certain number, in which case you could enter >100 (for example) in the Invoice Ref field on the first request.
When you have confirmed your search criteria, select Continue at the top right of the screen. You will see the results on the next screen. You can do several things on this screen:
- You can change the sort order by selecting any of the grey shaded headings. (Note: If you select the Debtor ID heading, you will see totals displayed for each debtor. Selecting either the Debtor ID or Name headings removes the Due Date subheadings.)
- You can go to the Debtor record, by selecting the yellow-shaded name or Debtor ID. (To return to this Payment Summary from the Debtor screen, use the layout drop-down list, and select Student Accounts > Payment Summary.)
- You can go to the Invoice by selecting the green EDIT button at the right of the record. (Again, to return to this Payment Summary, use the layout drop-down list, and select Student Accounts > Payment Summary.)
- You can email the Debtor by selecting the envelope at the right of the record.
- You can save the report as an Excel spreadsheet by selecting the white buttons at the top of the screen.
- You can print a hard copy of the list (you will need to select landscape in the Print Setup). You can also MAKE PAYMENTS from this screen by selecting the yellow-shaded Amount Paid field on a particular record.
To return to List View, select the List View button near the top of the screen.