This article is no longer updated.
Please go to our new Intercom knowledge base to ensure you're seeing the most recent version.
The link above takes you directly to the equivalent article on Intercom.
Jump straight to the Guide for Teachers.
Resources Overview
The Resources File records department resources including music and books, audio visual equipment, instruments, lockers, rooms and other equipment. This file links to the Loans & Hire file to record who borrows items.
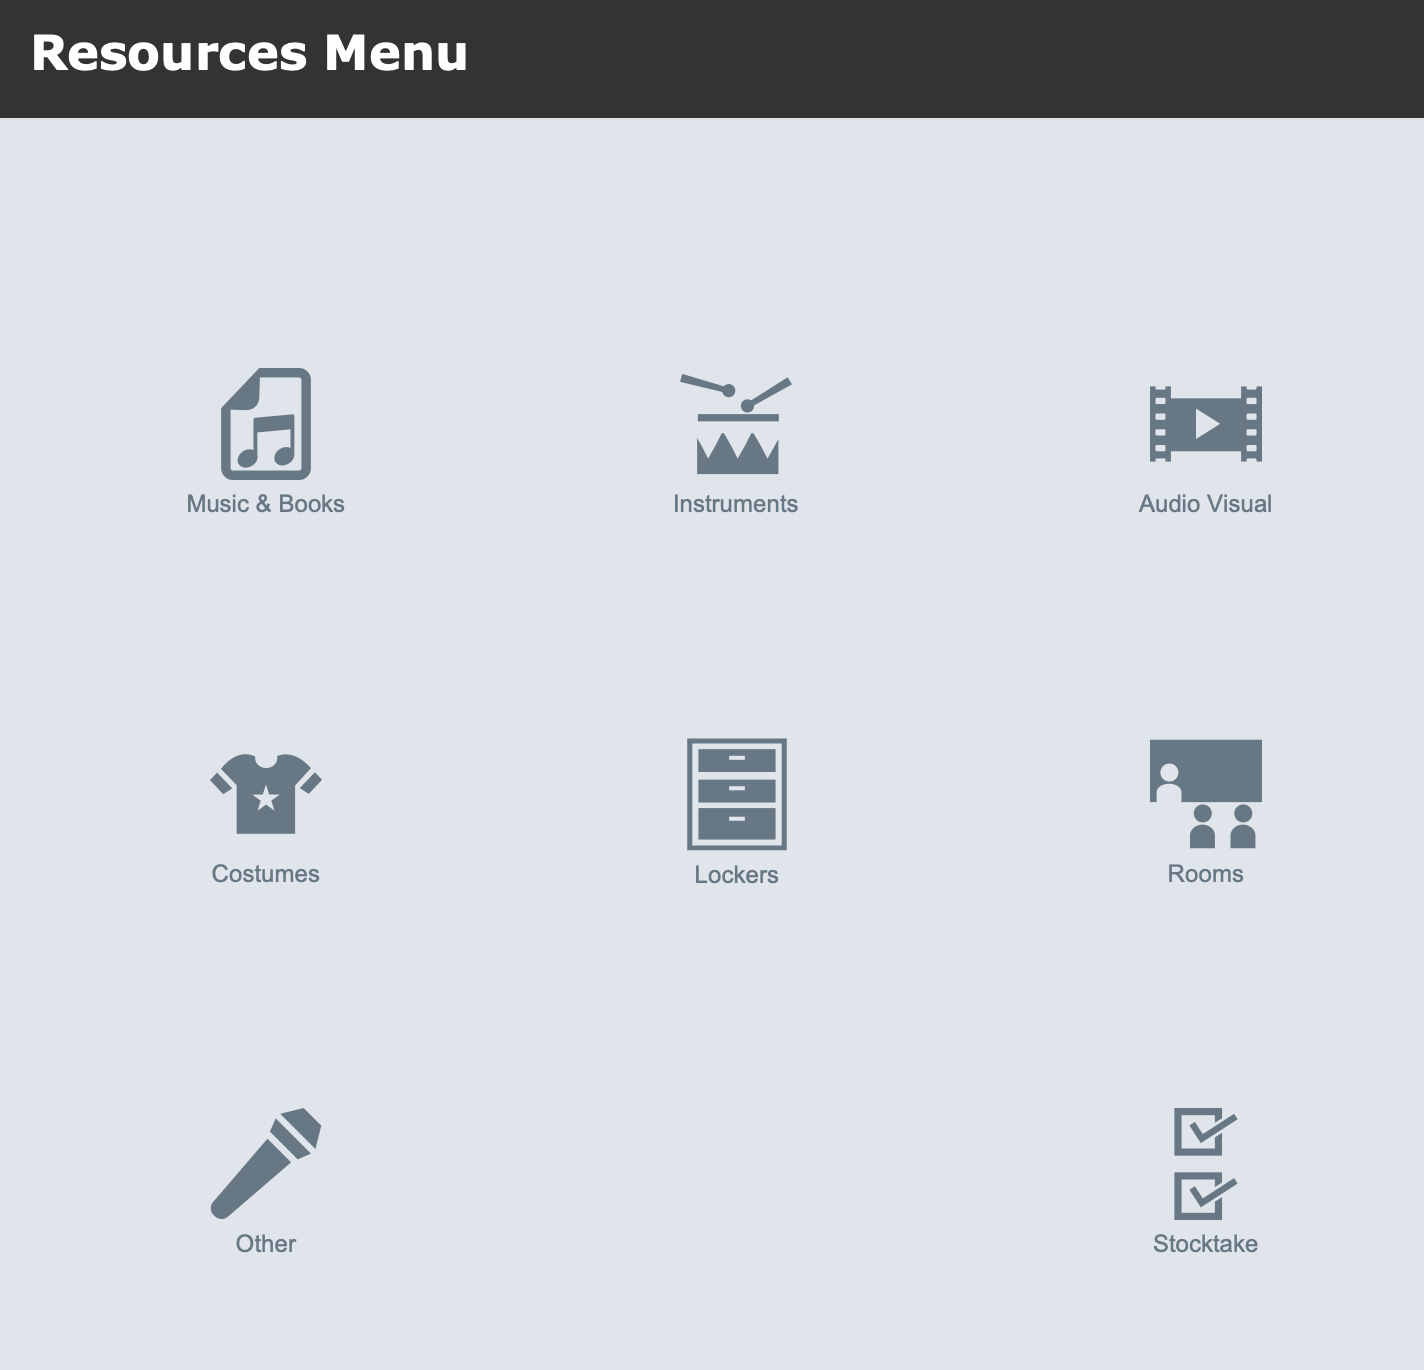
The Resources button opens the Resources Menu.
All of these items are recorded in the same file, but they have their own layouts to display the fields that are relevant to each type of item.
Set Up Resources
All the resources (except Rooms) are set up to be loaned out, and have a unique Reference Number to identify them by. Where relevant, they also have a Storage Location, a Serial Number, and an Alternative Reference Number.
Simply create the records for the resources you wish to have listed in this file. If you have an existing list, we can also help you import it. Just get in touch.
Set Up Hire Fees
Go to Home > Setup Files > Fees. The file opens on Private Tuition Fees, so select Instrument Hire from the top menu.
Any fees you set up in here, with the Fee Category of Instrument Hire, will be available to select as a Hire Description when loaning out any resources.
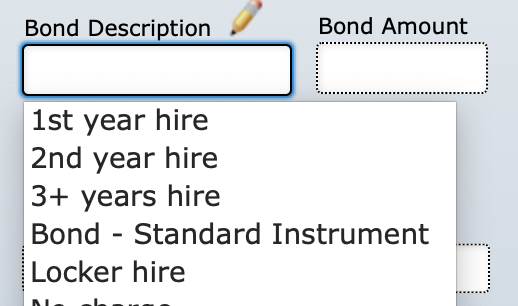
The same list is available to select from under Bond Description, so if you charge a bond on instrument hires you should set it up here too. Simply name it clearly and give it the correct Amount value.
For more detail, see Manage Instrument Hire Fees.
Loan Out Resources
Resources can be loaned to students from the Student file or from the Resources file.
Students File
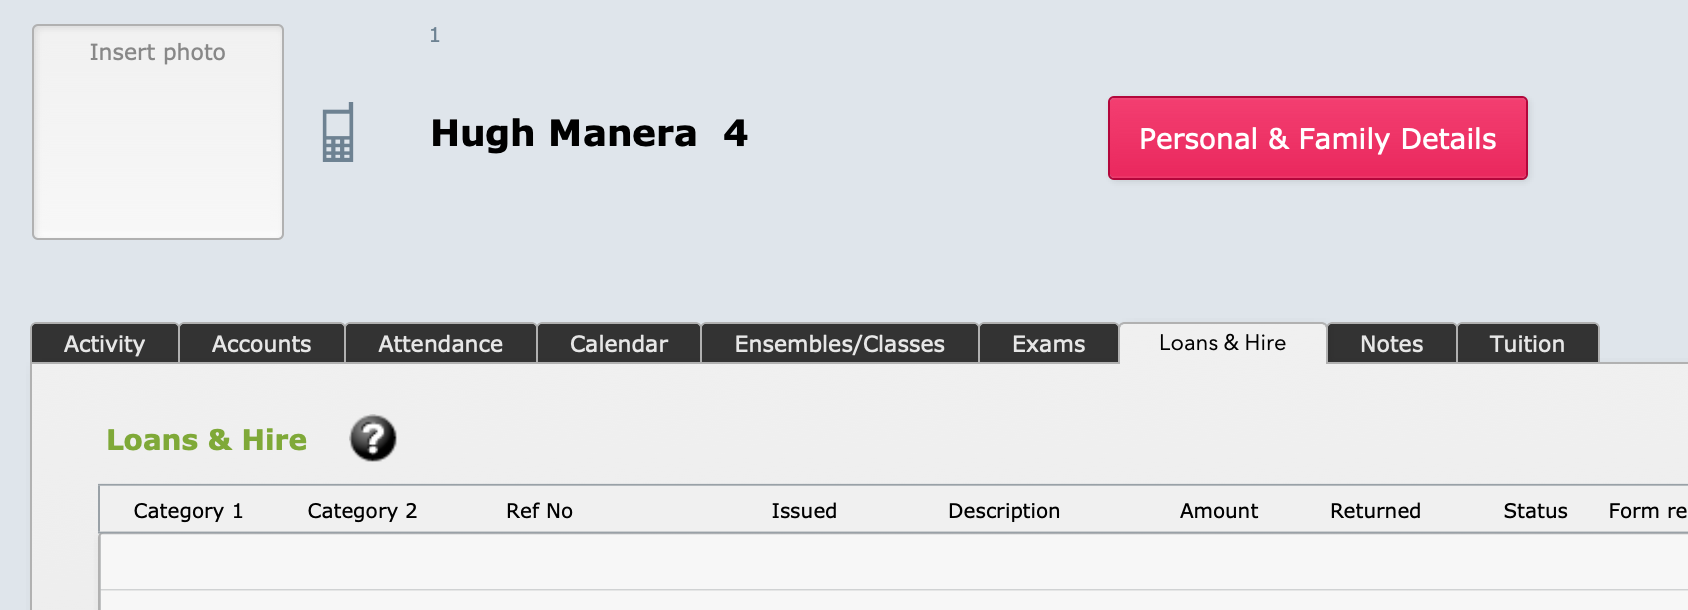
On the Students file is a tab called Loans & Hire. Select that and you will see all the current and past loans & hire for that student.
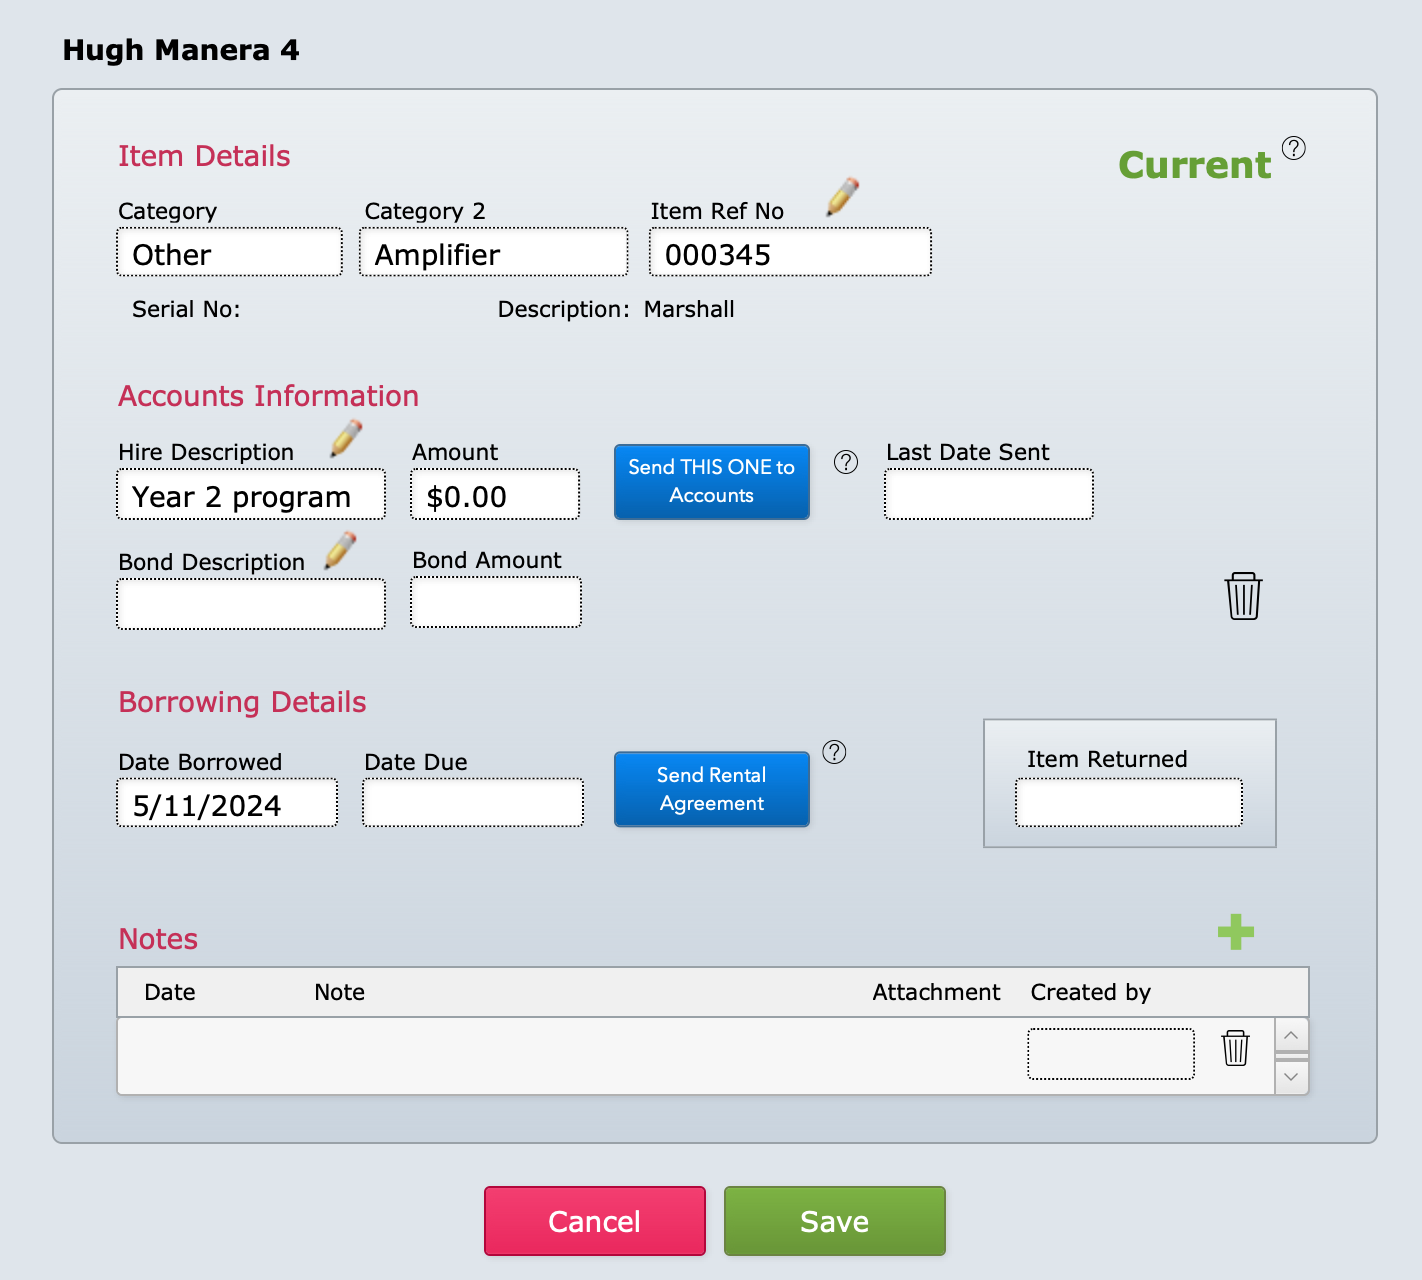
Select the green + button to add a new hire. Fill in the details.
As stated above, the Hire Description and Bond Description options are both populated from the Instrument Hire Fees table. When you select the fee from the list, the Amount is entered automatically.
If there is a hire cost to the student, you can send the amount/s to Billing immediately using the blue button/s on this screen. (If no fee is entered, the button will not be visible.) Alternatively, you can send a batch of hire fees over to Billing later - see Billing Instrument Hire.
Resources File
When resources are available to borrow, their record in the resources file has a green New Borrower button on the right-hand end.
You can select a student from the drop-down list to loan the item to.
You can also select to choose from Staff and Other Contacts instead of students, and loan resources to other people in your Contacts file.
Return a Loaned Item
The screens that allow you to view and check out a loan, listed above, also have a red Quick Return button. To check the item back in with today's date, simply find the item in the resources list or the student's Loans & Hire tab and select that button.
The Navigation Map also has a link to the Loans & Hire file, which lists all current and past loans. You can add today's or any other date as a Return Date in the record in that file. (Note that it is even possible to enter a future date, so use carefully.)
Stocktake
*New in 2024!* The stocktake function is very simple. It just has a field that can have a date entered. The value of it is that you can check off the items on your inventory, and then easily pull up a list of those that are checked off, or those that are not.
See Instrument Stocktake for detail.
Instrument Repairs
Instrument records have a Repairs tab that links to a related table. See Instrument Repairs for guidance.
Guides for Teachers
Below is a quick 2-min video showing how teachers can quickly loan out instruments to students and mark them returned.


