This article is no longer updated.
Please go to our new Intercom knowledge base to ensure you're seeing the most recent version.
The link above takes you directly to the equivalent article on Intercom.
There are a few different settings you need to set up for your particular usage of the Salaries module, and you also need some records in place.
General Settings
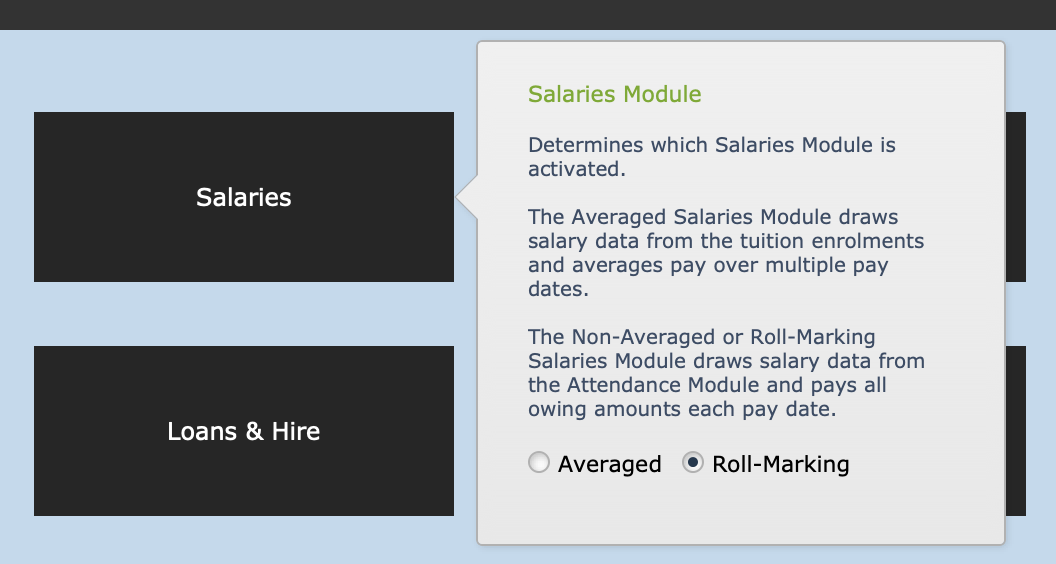
Here you can set whether to use averaged salaries or salaries based on roll-marking.
The Averaged Salaries module calculates pays based on lessons billed, and averages it out over a number of pay periods.
The Roll-Marking Salaries module calculates pay each pay period based on lessons given.
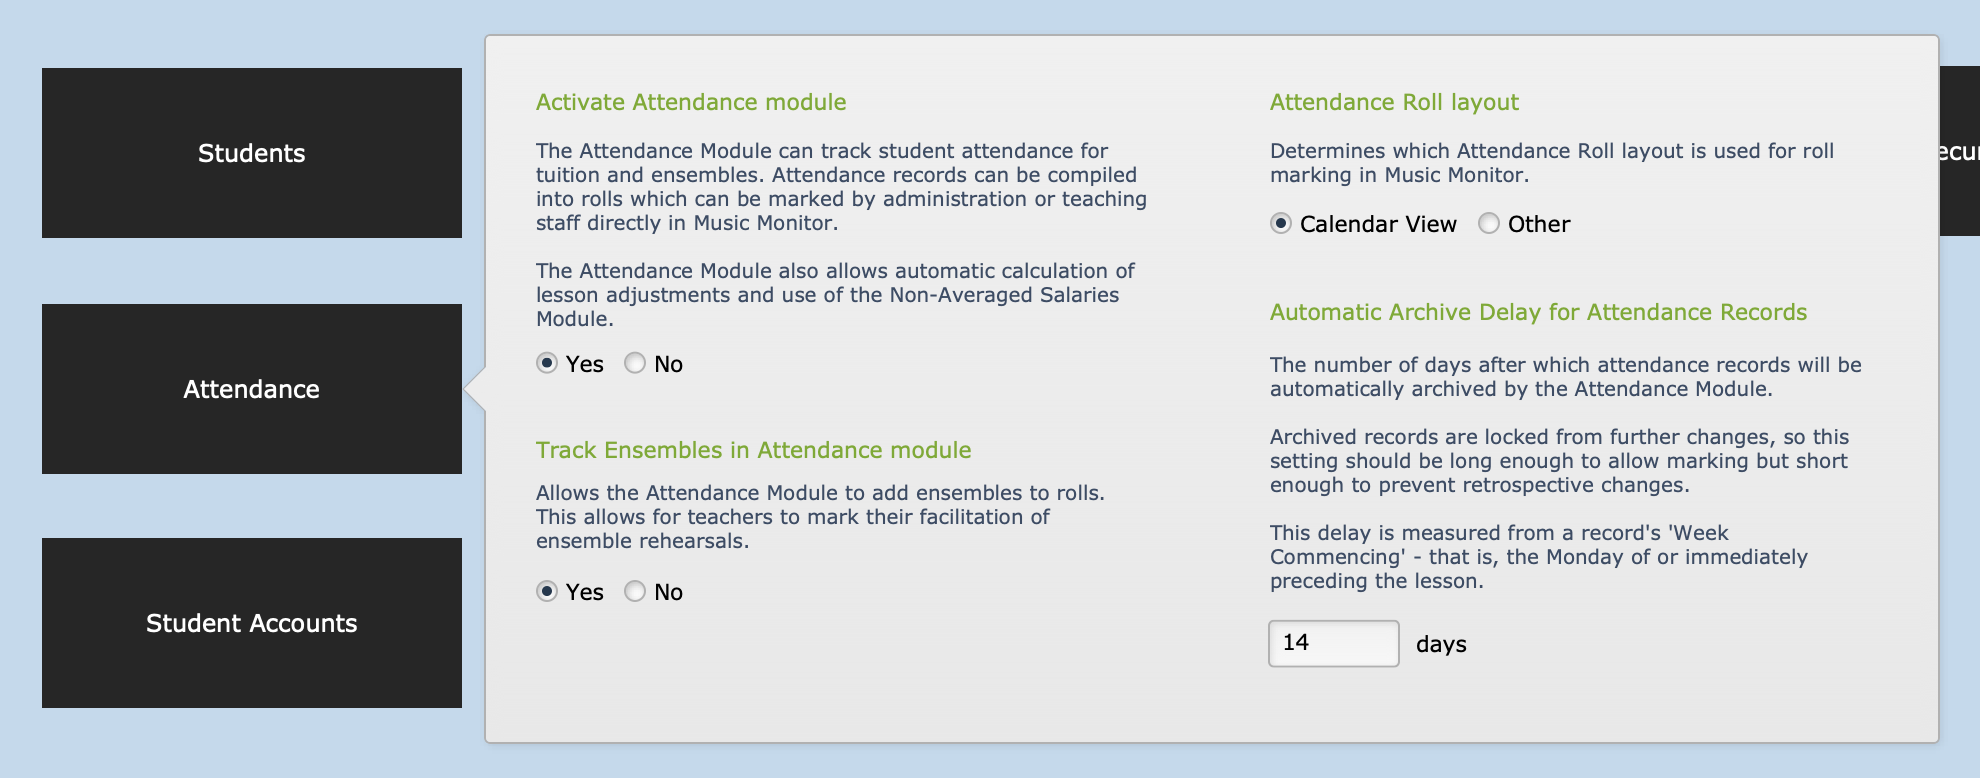
If you are using roll-marking, you also need to choose settings in this screen under Attendance.
Pay Rates
In order to calculate pays, you need to set up Pay Rates for your teachers. You can create pay rates for any categories of work that you choose.
To create pay rates for the regular work of delivering your enrolled lessons, the best method is to start by setting up Fees.
Tuition Fees
When you set up Tuition Fees, you can set the staff pay information at the same time.
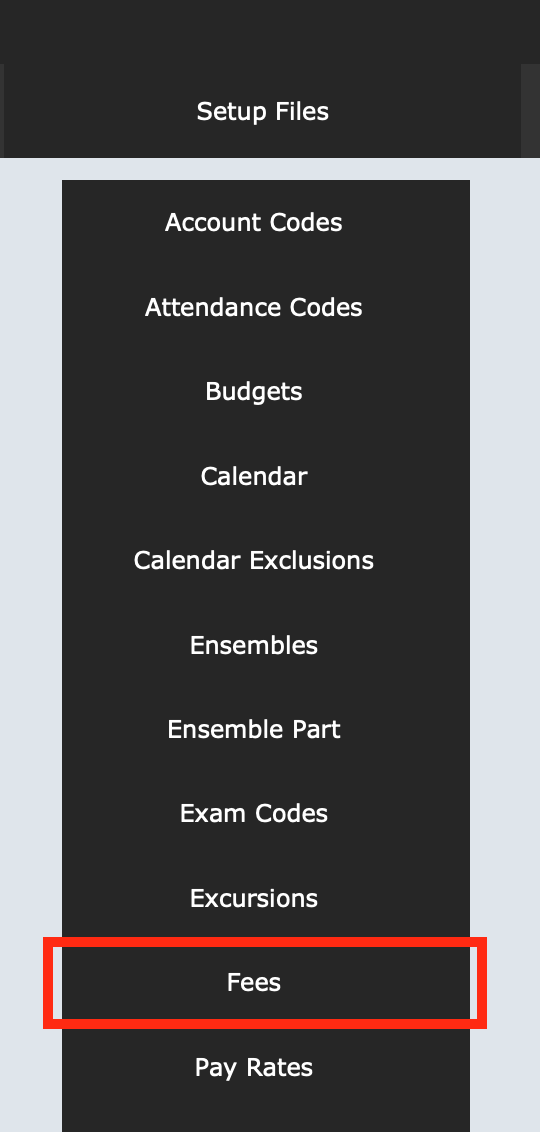
Go to Home > Setup Files > Fees
The window will open on Private Tuition Fees.
The student fee information is entered in the left-hand columns and the staff pay information in those further to the right.
If you enter the Hourly Rate and the Staff Load Per Lesson, you can use the Auto-Enter button to calculate the Staff Pay Per Lesson.
Per Student
Note that if you have lessons shared among more than one student, you need to divide the Staff Load Per Lesson among them as well, and also the Staff Pay Per Lesson. The total teaching load and staff pay allocated for that session will be the load for all the students added together, so if there are three students in the lesson, the teacher will be paid the listed amount three times (once for each student).
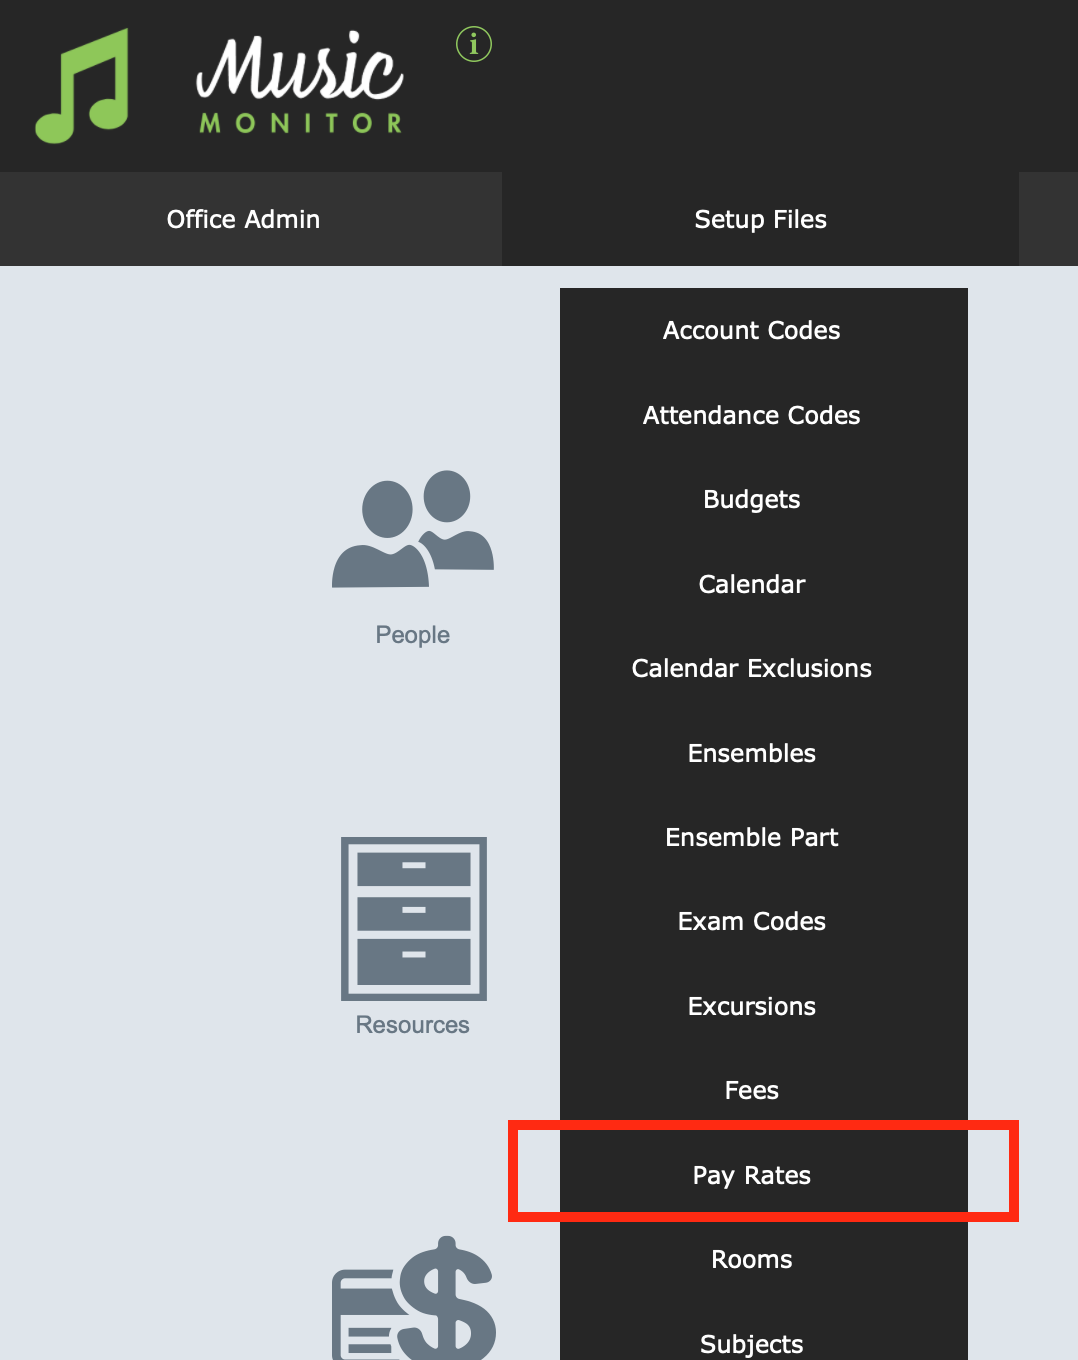
When you look in Pay Rates later, you will see that any Lesson Type you created, with staff pay information added, will now appear in the Pay Rates sheet.
Ensemble Fees
The staff pay for ensembles is not usually linked to the ensemble fee type in the same way it is with tuition.
To manage these, you set up fees without staff pay information, and set up the ensemble pay in the Pay Rates sheet.
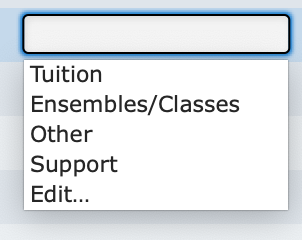
You will see that there are categories to assign the different pay rates to. Only those that have the category Ensembles/Classes will be available to use as pay rates when assigning staff to an ensemble.
Other Pay Rates
To create a new pay rate, select the green + button. You can create additional categories for pay rates you wish to use.
A pay rate with the category Other will be available for teachers to use to add additional paid work to their own rolls.
All categories including any additional ones you create will be available for admin staff to use to add additional paid work in the Salaries module.
Then fill in the other fields.
You can create any Salary Unit that is helpful to you. If you pay staff a travel allowance per kilometre, you can create "Kilometres" as a unit for your travel pays. Ensemble pays are often per Session, and other additional work may be per Hour, per Call, or whatever units you use.
Attendance Codes
If you are using roll marking to calculate salaries, you must set up your Attendance Codes to suit. Attendance codes specify whether or not staff are to be paid for the session.
Go to Home > Setup Files > Attendance Codes
The screen looks something like this.
Staff Pay Count
The crucial part for Salaries is the Staff Pay Count field. This can be set to 0 or 1. If the lesson took place as scheduled, clearly the teacher needs to be paid, so it is set to 1.
You will no doubt need to set up an Attendance Code for a teacher absence, and the Staff Pay Count for that code will be 0.
It is strongly recommended that you also have a code for "No Lesson Scheduled", and for this the Staff Pay Count will also be 0.
You may also allow for a circumstance where a lesson was not given but staff are to be paid anyway, for example a short-notice student absence.
Other Fields
- Code - This can be short, for convenience, or longer for more clarity.
- Description - An explanation of what the code means.
- Code Type - Whether this code applies to tuition rolls or ensemble rolls. You need a set of codes for each roll type.
- Comment required? - If this is ticked, a teacher or admin member marking a roll with this code will be required to type a comment before they can submit it.
- Absentee letter? - If this is ticked, marking a record with this code will add it to a list of absentee letters to be sent. There is still a separate process to actually send the letters.
- Attendance Count - To count the student as having attended this lesson, set this to 1.
- Billing Count - If the student is obliged to pay for this lesson, regardless of whether they attended or not (e.g. short-notice absence), set this to 1. If the fee is to be waived, set to 0.
The minimum number of attendance codes you need are the ones to capture all the combinations of Attendance Count, Billing Count, and Staff Pay Count that you want to allow for. But you can set up additional codes that are functionally identical but describe different real-life situations.
For example, "Teacher Absent", "Approved Student Absence", and "No Lesson Scheduled" would all have the same effect - no attendance count, no billing count and no staff pay count. But they represent different situations that you may want to capture for other administrative reasons, or to make it easier for your staff when marking rolls. Similarly, many schools have separate codes for lessons given in person or online, even though the settings for these codes are once again identical.
Employment Type
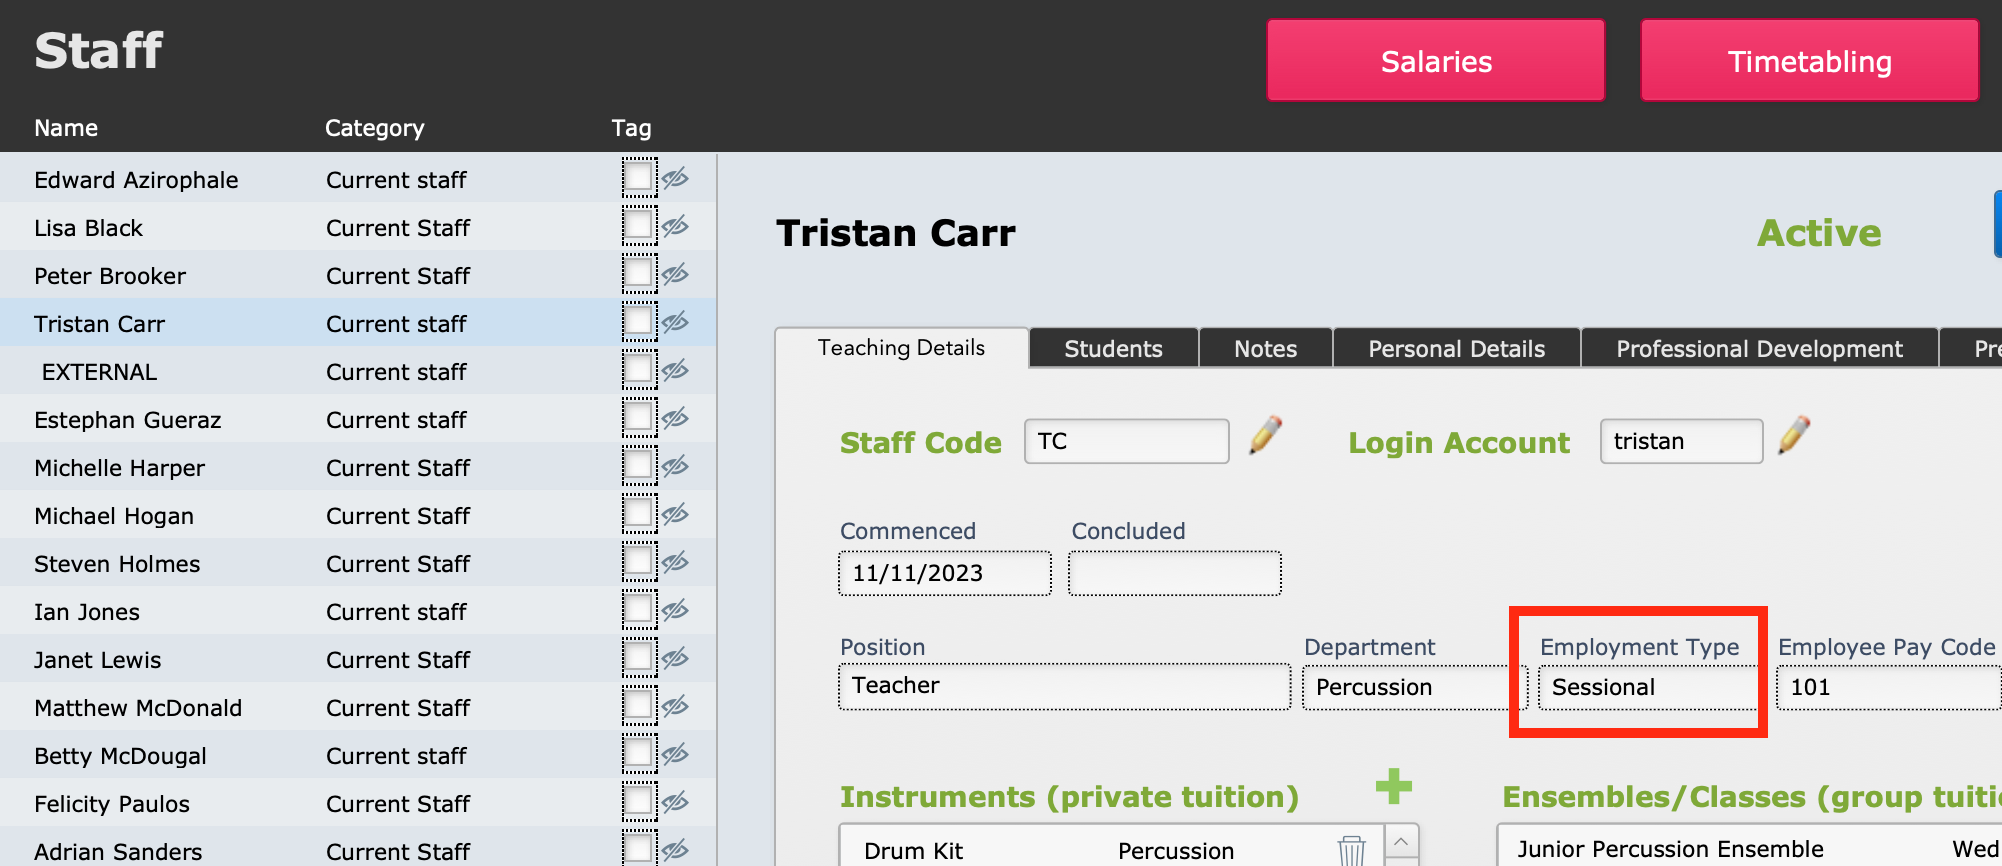
For staff on permanent contracts, their teaching hours week to week don't usually affect their pay. So Music Monitor allows you to distinguish between "Salaried" staff and "Sessional" staff.
If you are using roll marking to calculate salaries, only the hours that are marked Sessional will be calculated.
Each staff member's Employment Type is listed in their Contacts record.
Once a staff member's employment type is set, any enrolments that are allocated to them will have that employment type listed against them, and so any attendance records generated from those enrolments will also have that employment type listed.
NOTE:
- You can manually change the employment type on an individual enrolment, or an individual attendance record, if your business practice requires that.
- If a teacher's employment type changes, that does not automatically change the employment type listed against their current enrolments. You need to bring up the relevant enrolments and attendance records and change them if necessary.
Salaries Module
With all the other settings in place, you're now ready to set up your Salaries module.
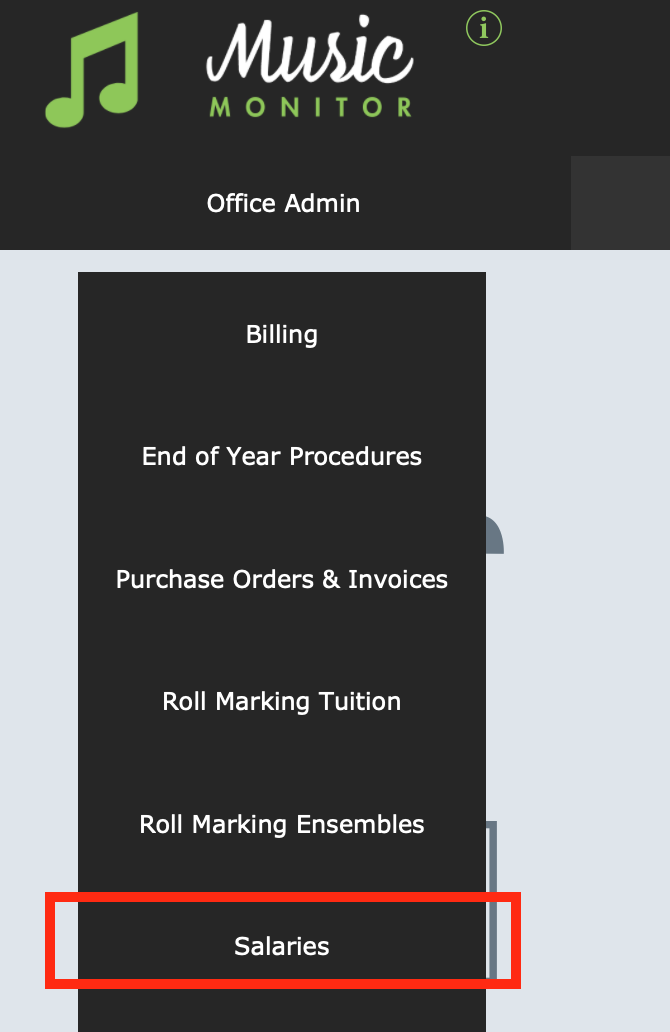
Go to Home > Office Admin > Salaries
Here you will see a different screen depending which mode you have chosen.
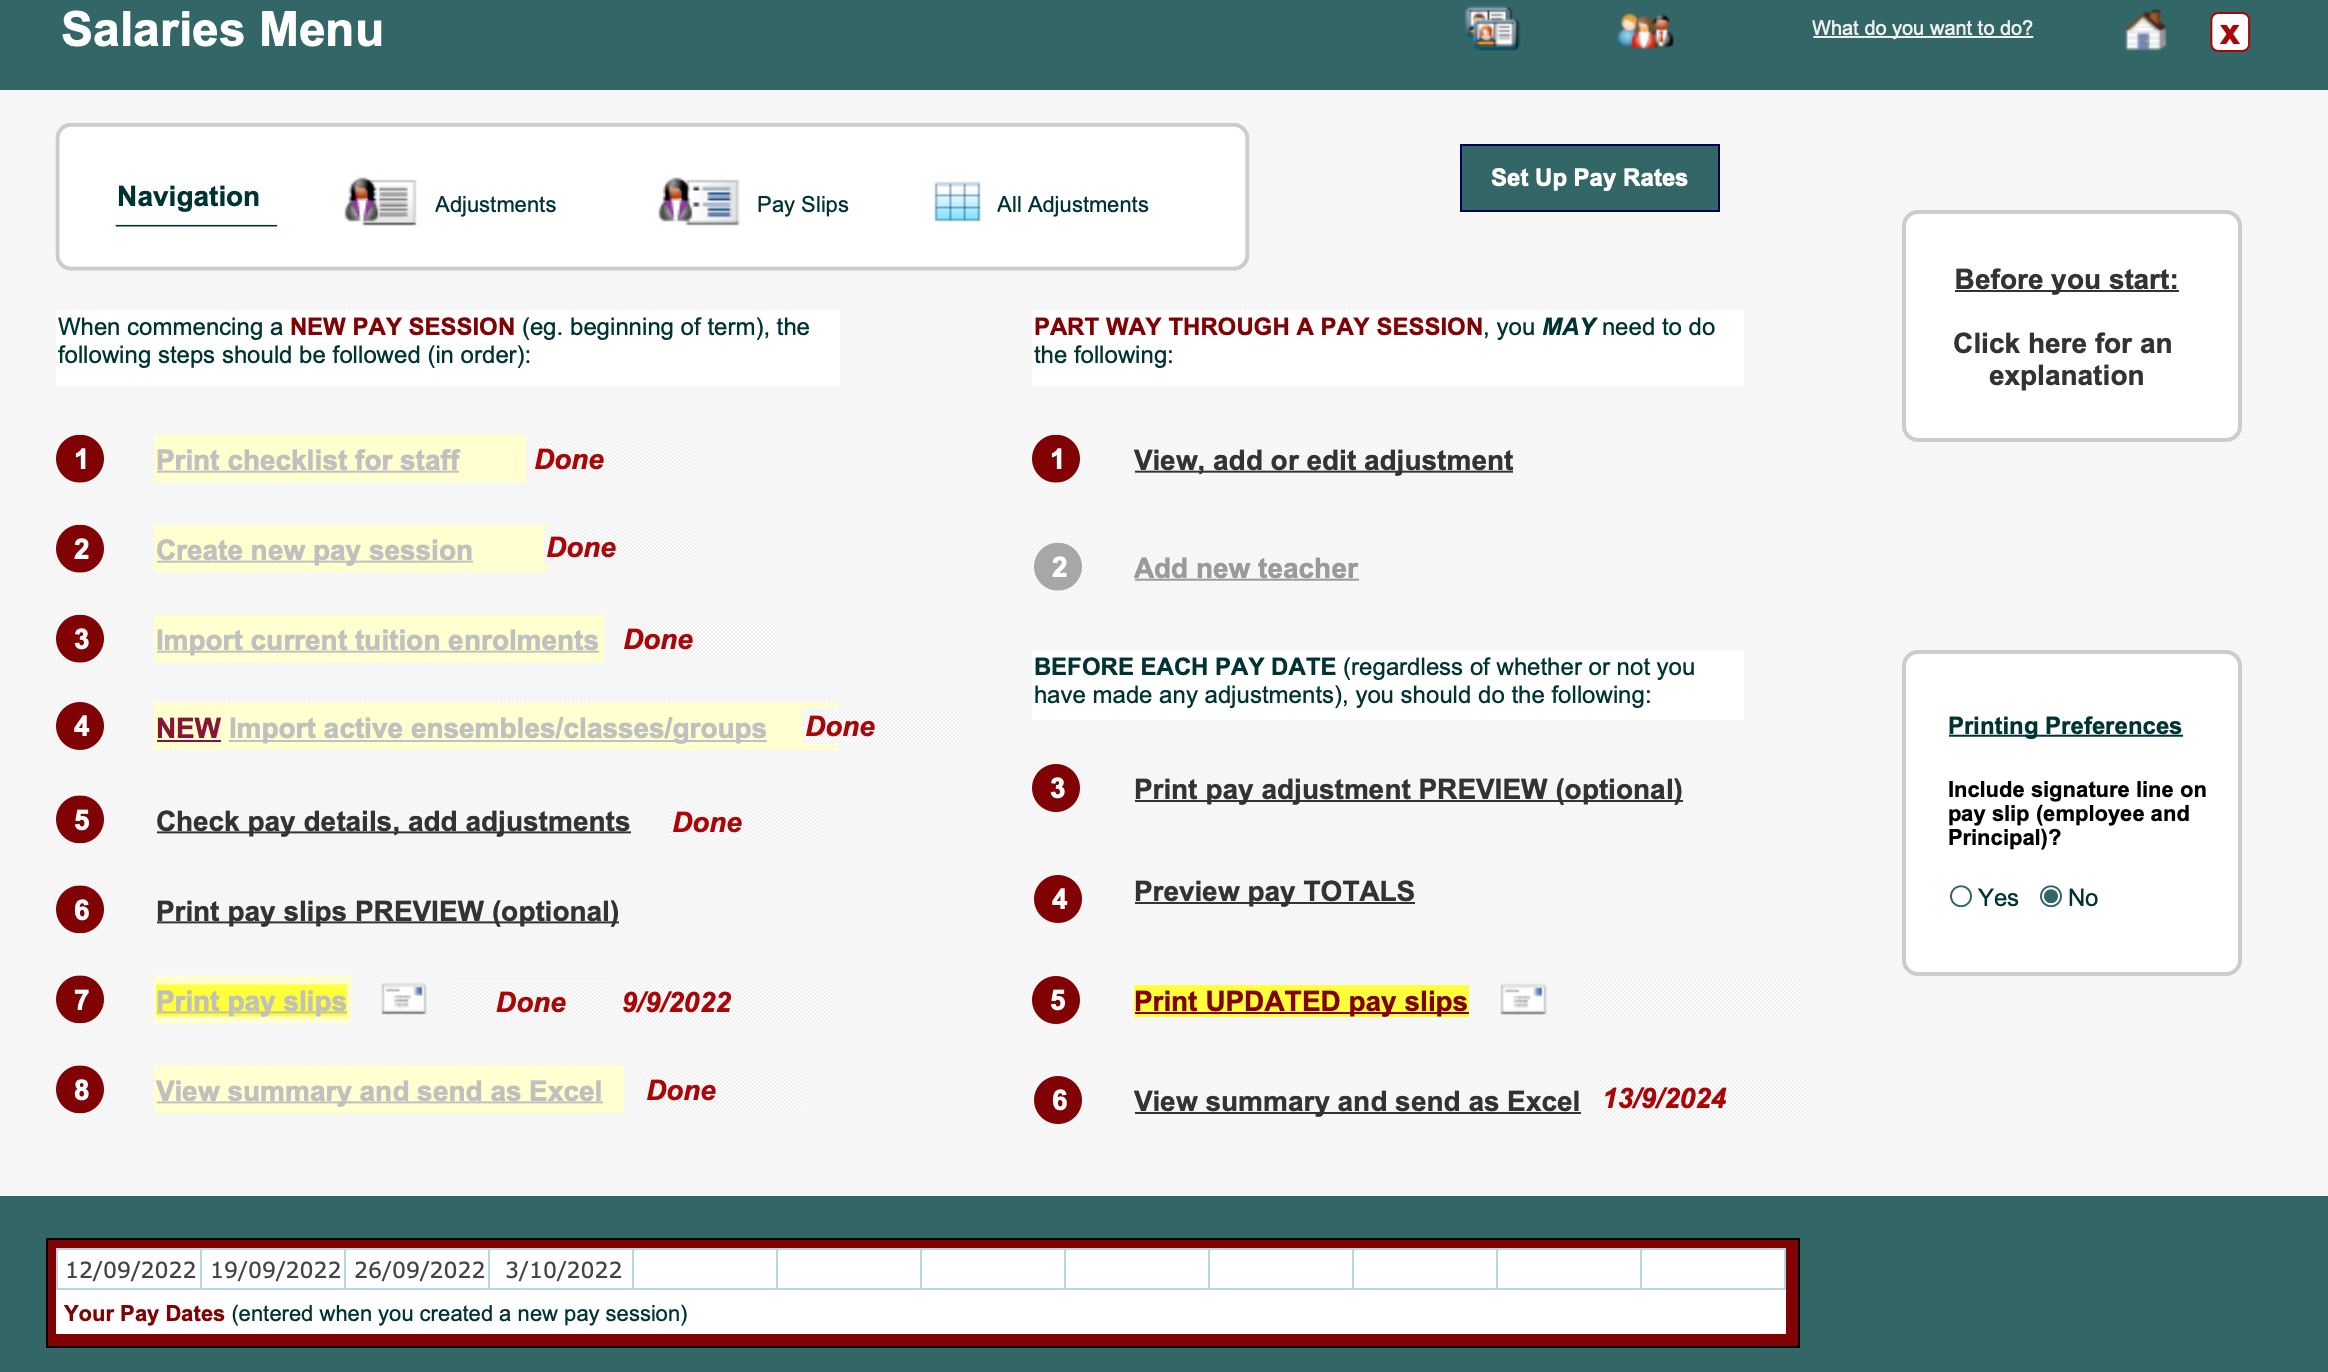
Averaged Salaries Module
The screen looks like this:
All the settings and processes that are specific to this module are linked from the main screen here. Note that the numbers in the red circles are each buttons that open a small help page about that individual process.
Roll-Marking Salaries Module
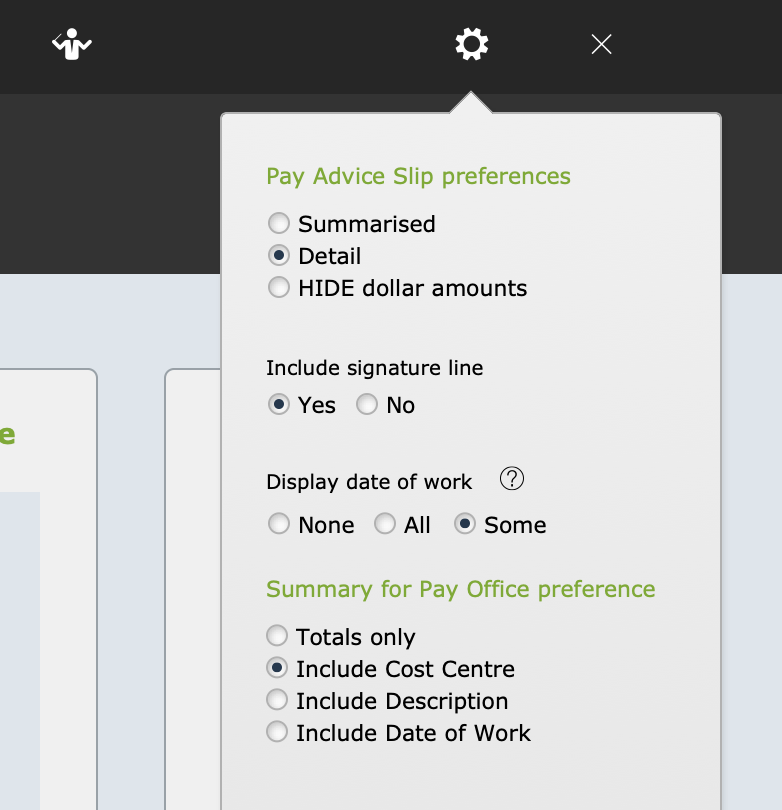
There are a few basic settings in the Settings wheel.
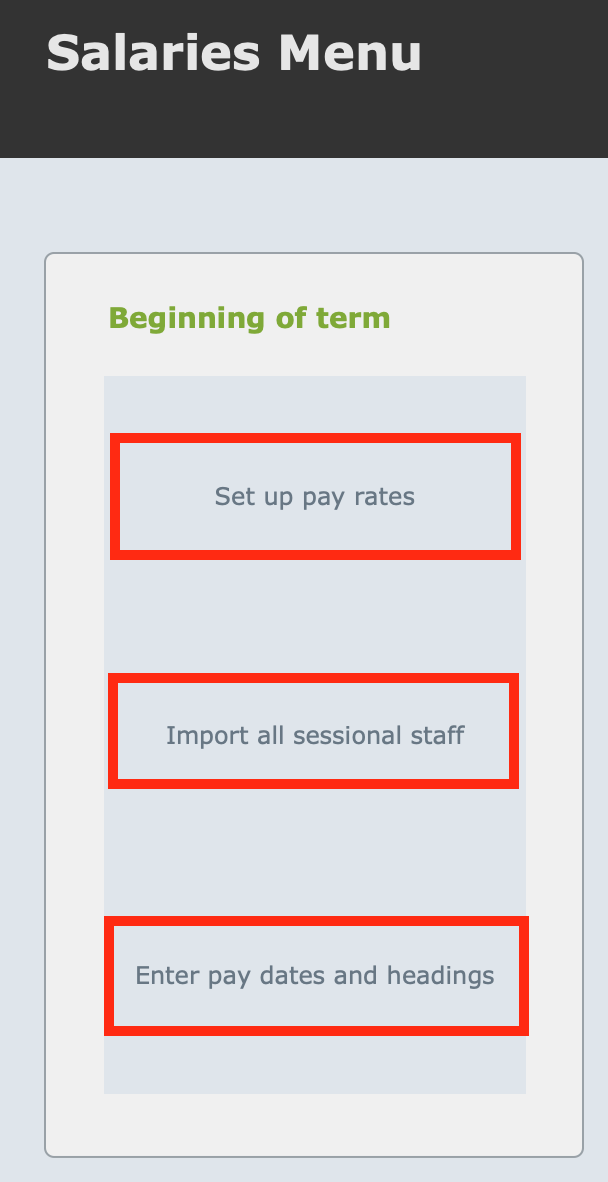
The other setup you need to do is under the Beginning of Term heading.
The setup for Pay Rates is addressed above in this article. You can also get to that file from here, within the Salaries module, to view or edit any of your rates.
Import All Sessional Staff
Once you have set up all your staff in the Contacts file, run this script to import them into the Salaries module.
The script will pause on a list of all Sessional staff. If the list is correct, select Continue to import them into the module.
NOTE: In current versions of Music Monitor, this step is rarely necessary because when you create a new staff member, a script automatically adds them to the Salaries module. But it is sometimes necessary to run this to pick up any staff member who may be missing from your list.
Enter Pay Dates and Headings
At the beginning of each term, set up the pay dates for the upcoming session.
The dates you enter here will appear as the payment date on pay advice slips, so you should enter the dates that you communicate to staff that they will be paid on.
You are now ready to look at the Salaries Tasks Between Pay Dates, or perhaps to Calculate Pays from Roll Marking.


