This article is no longer updated.
Please go to our new Intercom knowledge base to ensure you're seeing the most recent version.
The link above takes you directly to the equivalent article on Intercom.
This article assumes you have gone through the set-up procedures for using the Salaries section (entered pay rates, imported staff into the Salaries file, set up pay dates, etc.). If you're not sure about the setup stage, see the article on how to Set Up Salaries.
See also the separate article on the pay day process: Calculate Pays from Roll Marking.
Enter Additional Paid Work for Teachers
Note: There is now the option to create Pre-Approved Payments, which will appear on the teacher's roll and will come through automatically to the pay run once marked by the teacher. In many situations, that will be the best way to manage it. See the article on Pre-Approved Payments.
For other cases, the instructions below describe how to enter a Salaries line directly, which will sit there in your Salaries module until the next pay run picks it up for payment.
There are two ways to enter additional paid work.
1. Enter Work Via the Salaries File
Admin staff can enter additional pay amounts for teachers by this method.
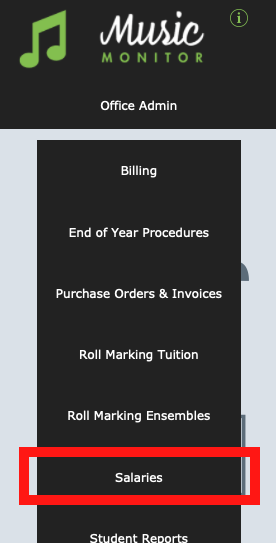
Go to Home > Office Admin > Salaries
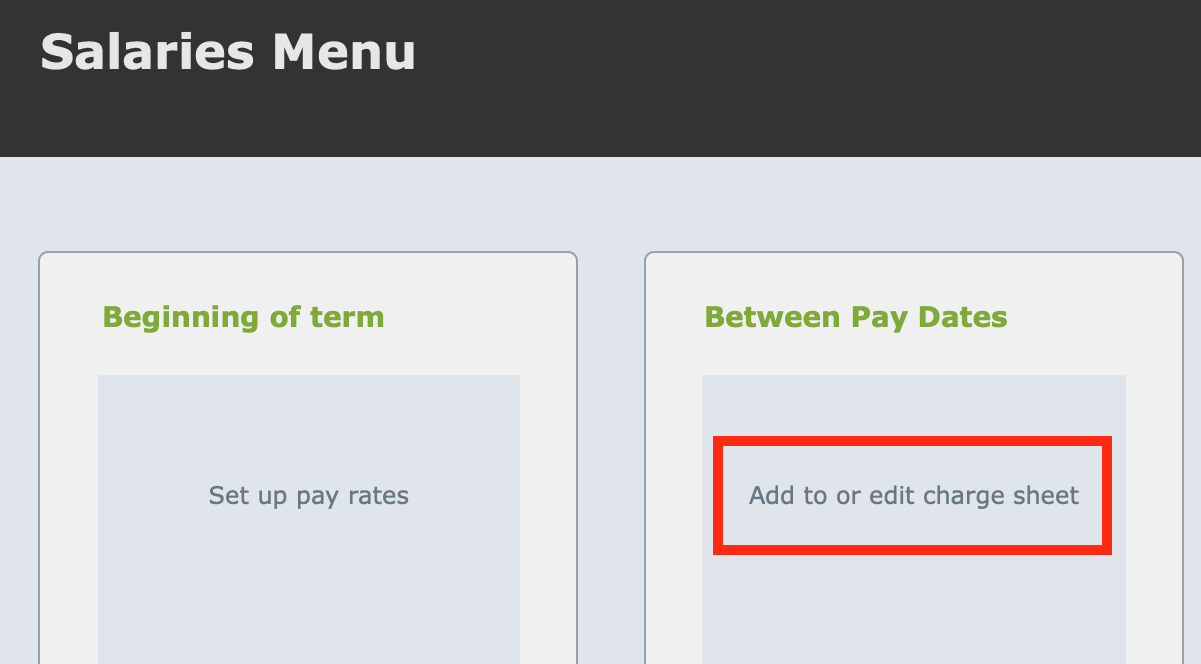
Under Between Pay Dates, select Add to or edit Charge Sheet
Select the teacher from the list and select Continue, then you will come to a screen showing salary lines for that teacher. The yellow lines have been paid and should not be edited.
Select the green + button to add a new line.
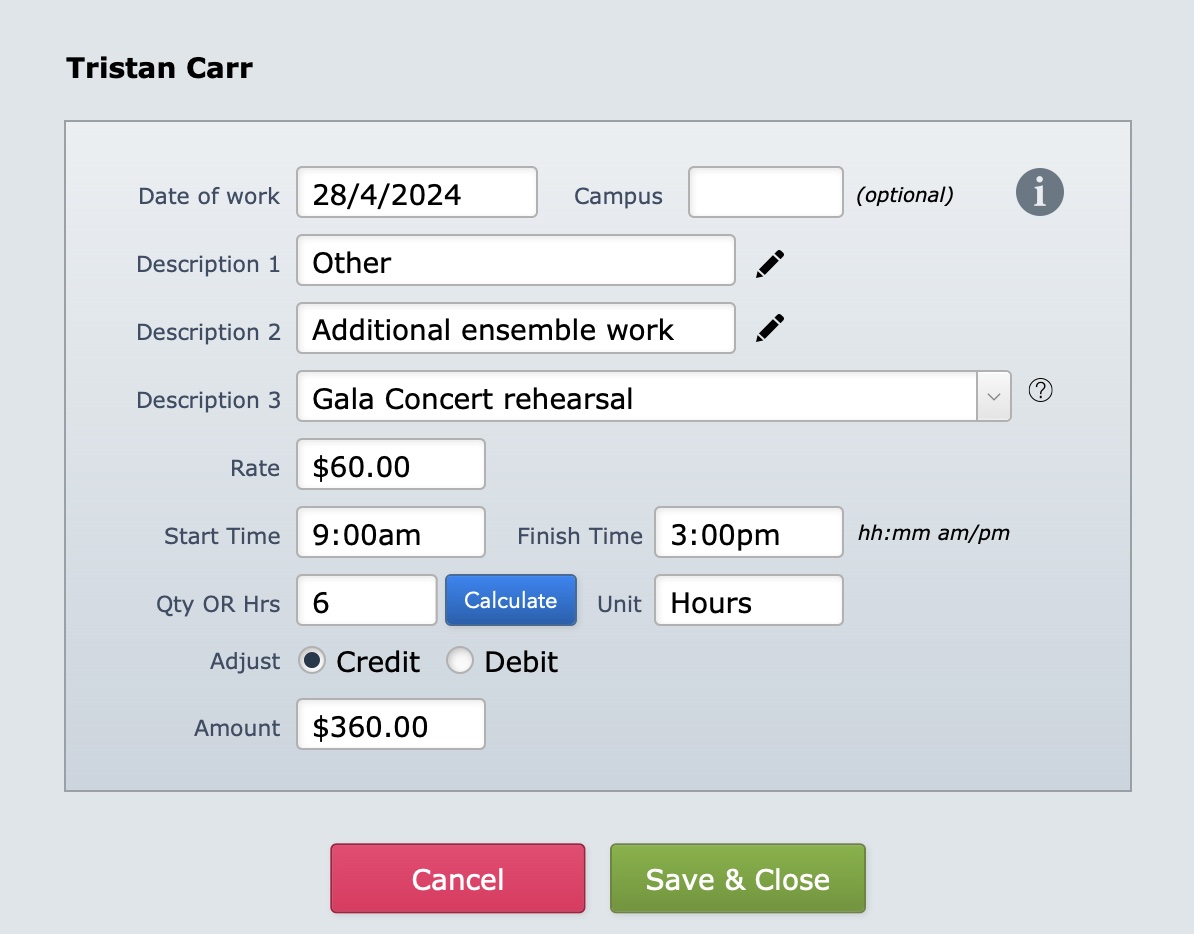
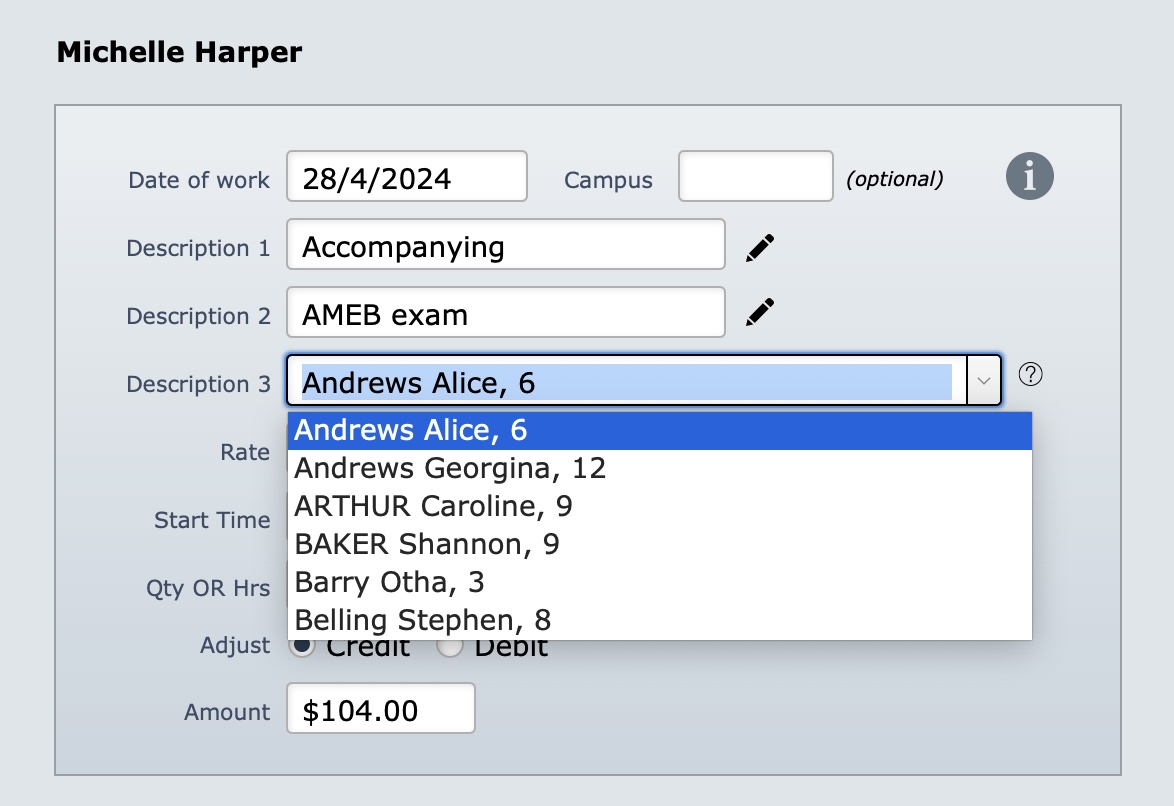
Fill in the details of the work that was completed.
The Description 1 and 2 fields are drop-downs that draw from the Pay Rates file, in which you set the pay rate that is also shown in that window.
Description 3 is optional, but you may wish to enter the name of the Ensemble, or other relevant information in this field.
For more guidance on how to set up the content in these fields, see Set Up Salaries.
- Rate and Unit should enter automatically.
- You can enter a Start Time and Finish Time and select Calculate for Music Monitor to calculate the number of hours. Or leave those fields blank and manually type the number of hours or quantity in that field.
- Select ‘Credit’ or ‘Debit’ for the Adjustment field.
- The Amount should automatically enter.
- Select Save and Close.
2. Enter Work Via the Teachers Home Screen
Teachers can submit a claim for additional paid work.
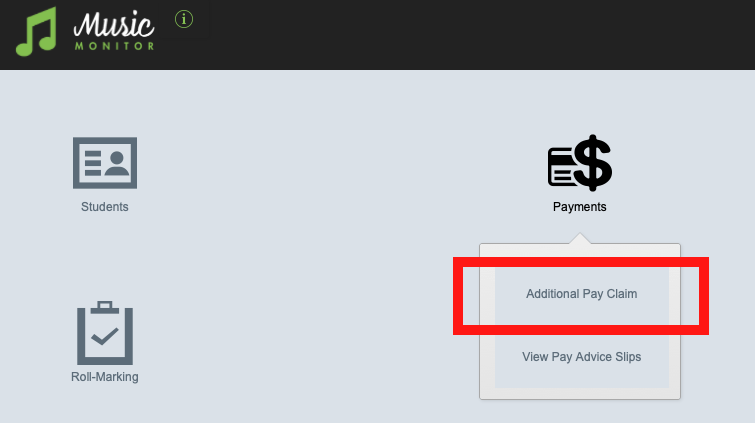
From the teachers Home Screen select Payments > Additional Pay Claim.
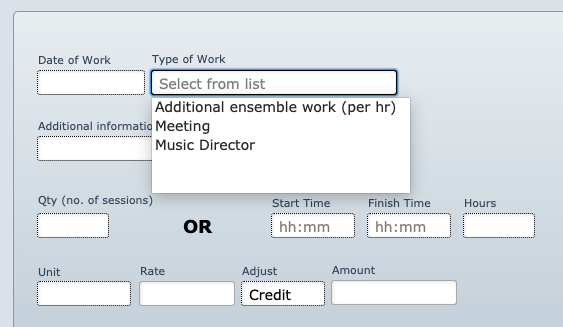
Enter the details including the date, the type of work, the description, and the start and finish times (or quantity).
Save.
Note: the options that teachers will see under Type of Work are ones that have the category Other in the Pay Rates file.
Add a New Teacher
If a new staff member commences in between pay dates:
- Set up the new staff member in the Contacts/Staff file. They will need to be entered as "Current Staff", they will need a Staff Code, and their Employment Type will need to be (or include the word) "Sessional".
- Assign their students and add the staff member to the staffing list in any ensembles they may be taking.
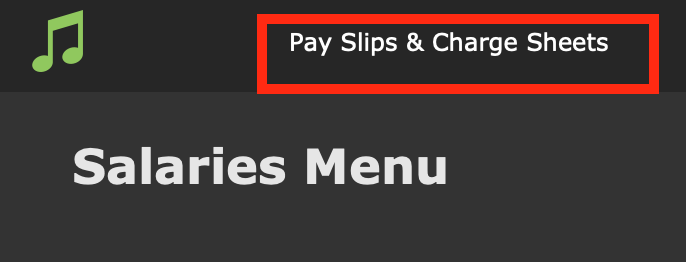
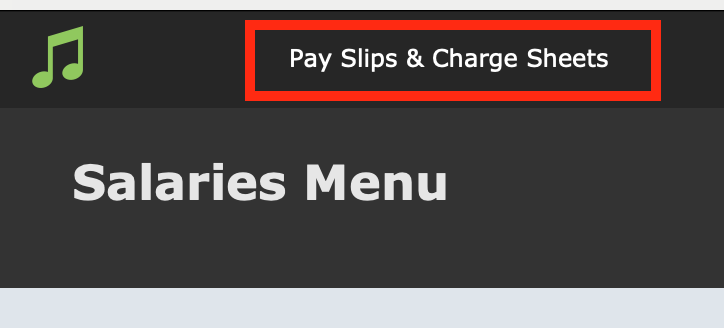
- Check they appear in the list of staff in Salaries > Pay Slips & Charge Sheets.
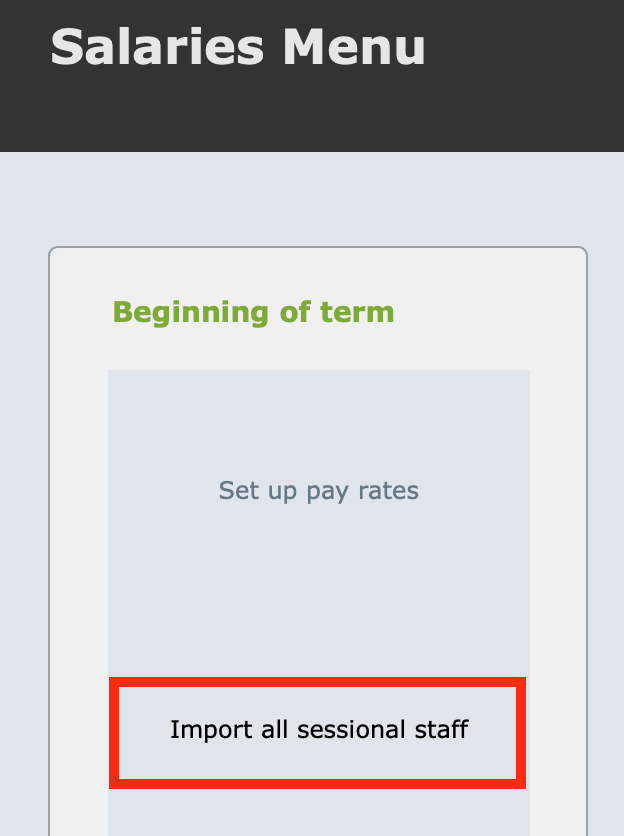
- If not, go to the Salaries > Beginning of Term > Import all sessional staff. Perform a find for just the new teacher and run the script to import that teacher.
Check or Edit Pay Rates
Go to the Pay Rates file via:
Home > Setup Files > Pay Rates, or
Home > Office Admin > Salaries > Beginning of Term > Set up pay rates.
There you can see the pay rates that are set up, and edit, create, or delete as needed.
Check a Teacher's Charge Sheet
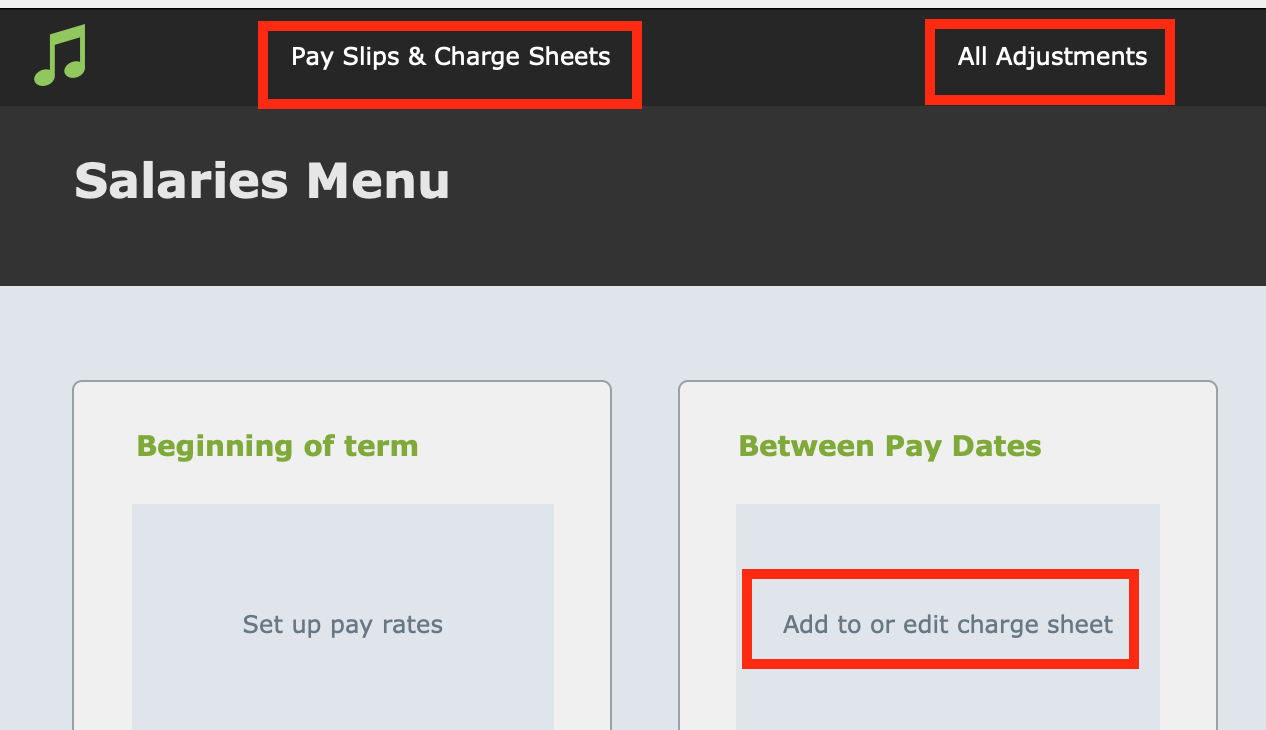
There are three ways to get to this information. All of them start with Home > Office Admin > Salaries. From there, select one of these links:
- Add to or edit charge sheet
This allows you to select an individual teacher and bring up all their salaries lines, both paid and unpaid.
- Pay Slips & Charge Sheets
This shows all salaries lines, both paid and unpaid, for all staff. You can then use a Find to refine the list if you choose.
- All Adjustments
This shows any additional lines (items with the Category "Other") that have been created for teachers but not paid yet. They will be included in the next pay run.
You can check the lines in these records and edit them if necessary. Note that you can also choose to Hold any unpaid salaries line, which will exclude it from the pay run until you uncheck the box again.
Check Attendance Records
When you run the pays, it’s really important that you have checked that the attendance records are all correct. We recommend checking the rolls on a weekly basis.
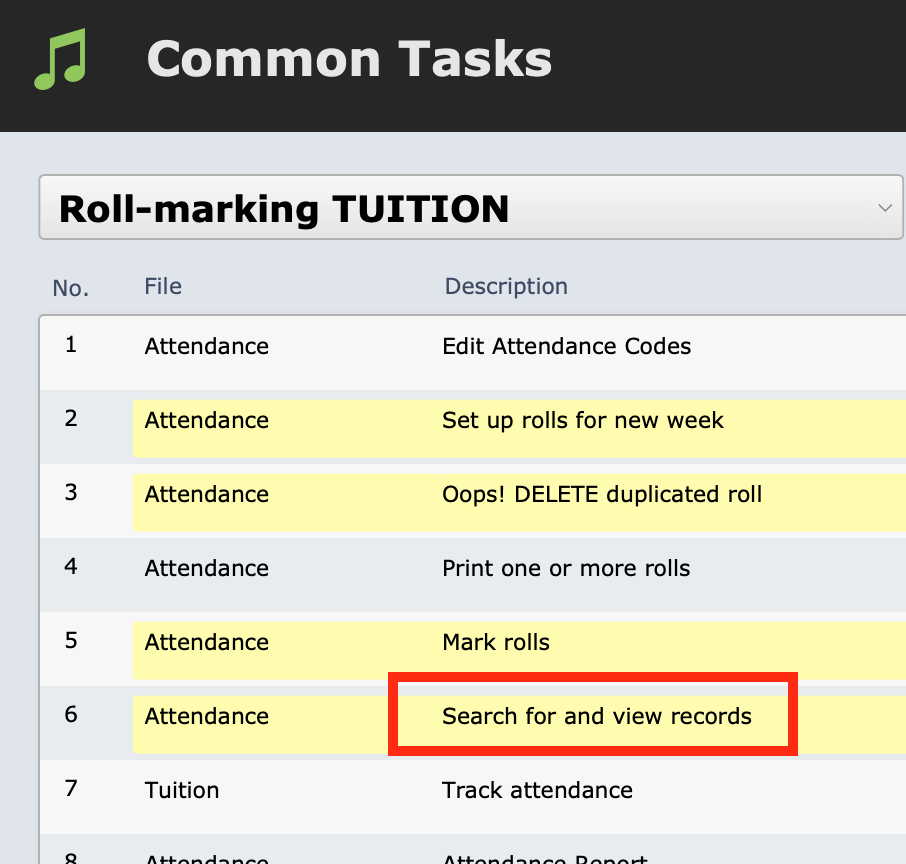
You can view the records in the Roll-Marking TUITION menu, which is accessed from Common Tasks, or also from Home > Office Admin > Roll Marking Tuition.
- Check for unmarked records (nothing in the Attendance Code field) and contact the teachers reminding them to mark them.
- Check for marked records without a lesson date and enter the date of the lesson (make sure it aligns with the Week Commencing date (e.g. If the Week Commencing is 28/4/2024 and the lesson day is Friday, the lesson date should be entered as 3/5/2024).
- Check and, if necessary, action any notes entered by the teachers.
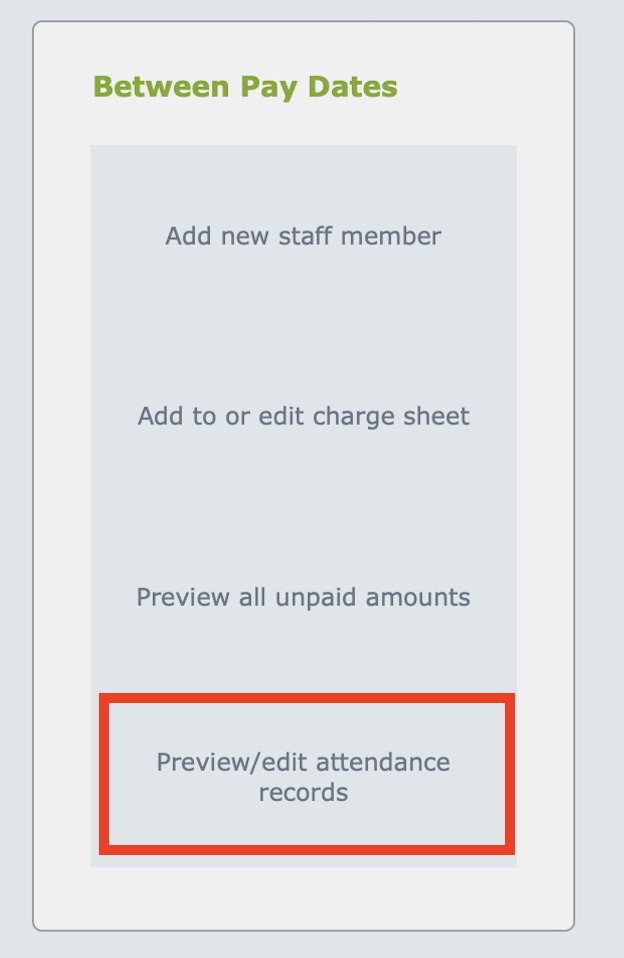
There is also a button in the Salaries module to Preview/edit attendance records.
That brings up a screen where you can select which records you want to view, by date, term, year, teacher, student, and more.
If you've done all these preparation steps, and it's now pay day, you're ready to Calculate Pays from Roll Marking.
Additional Notes
View or Reprint a Previous Payslip
In the Salaries module, select the Pay Slips & Charge Sheets button.
Select a teacher from the left or do a Find.
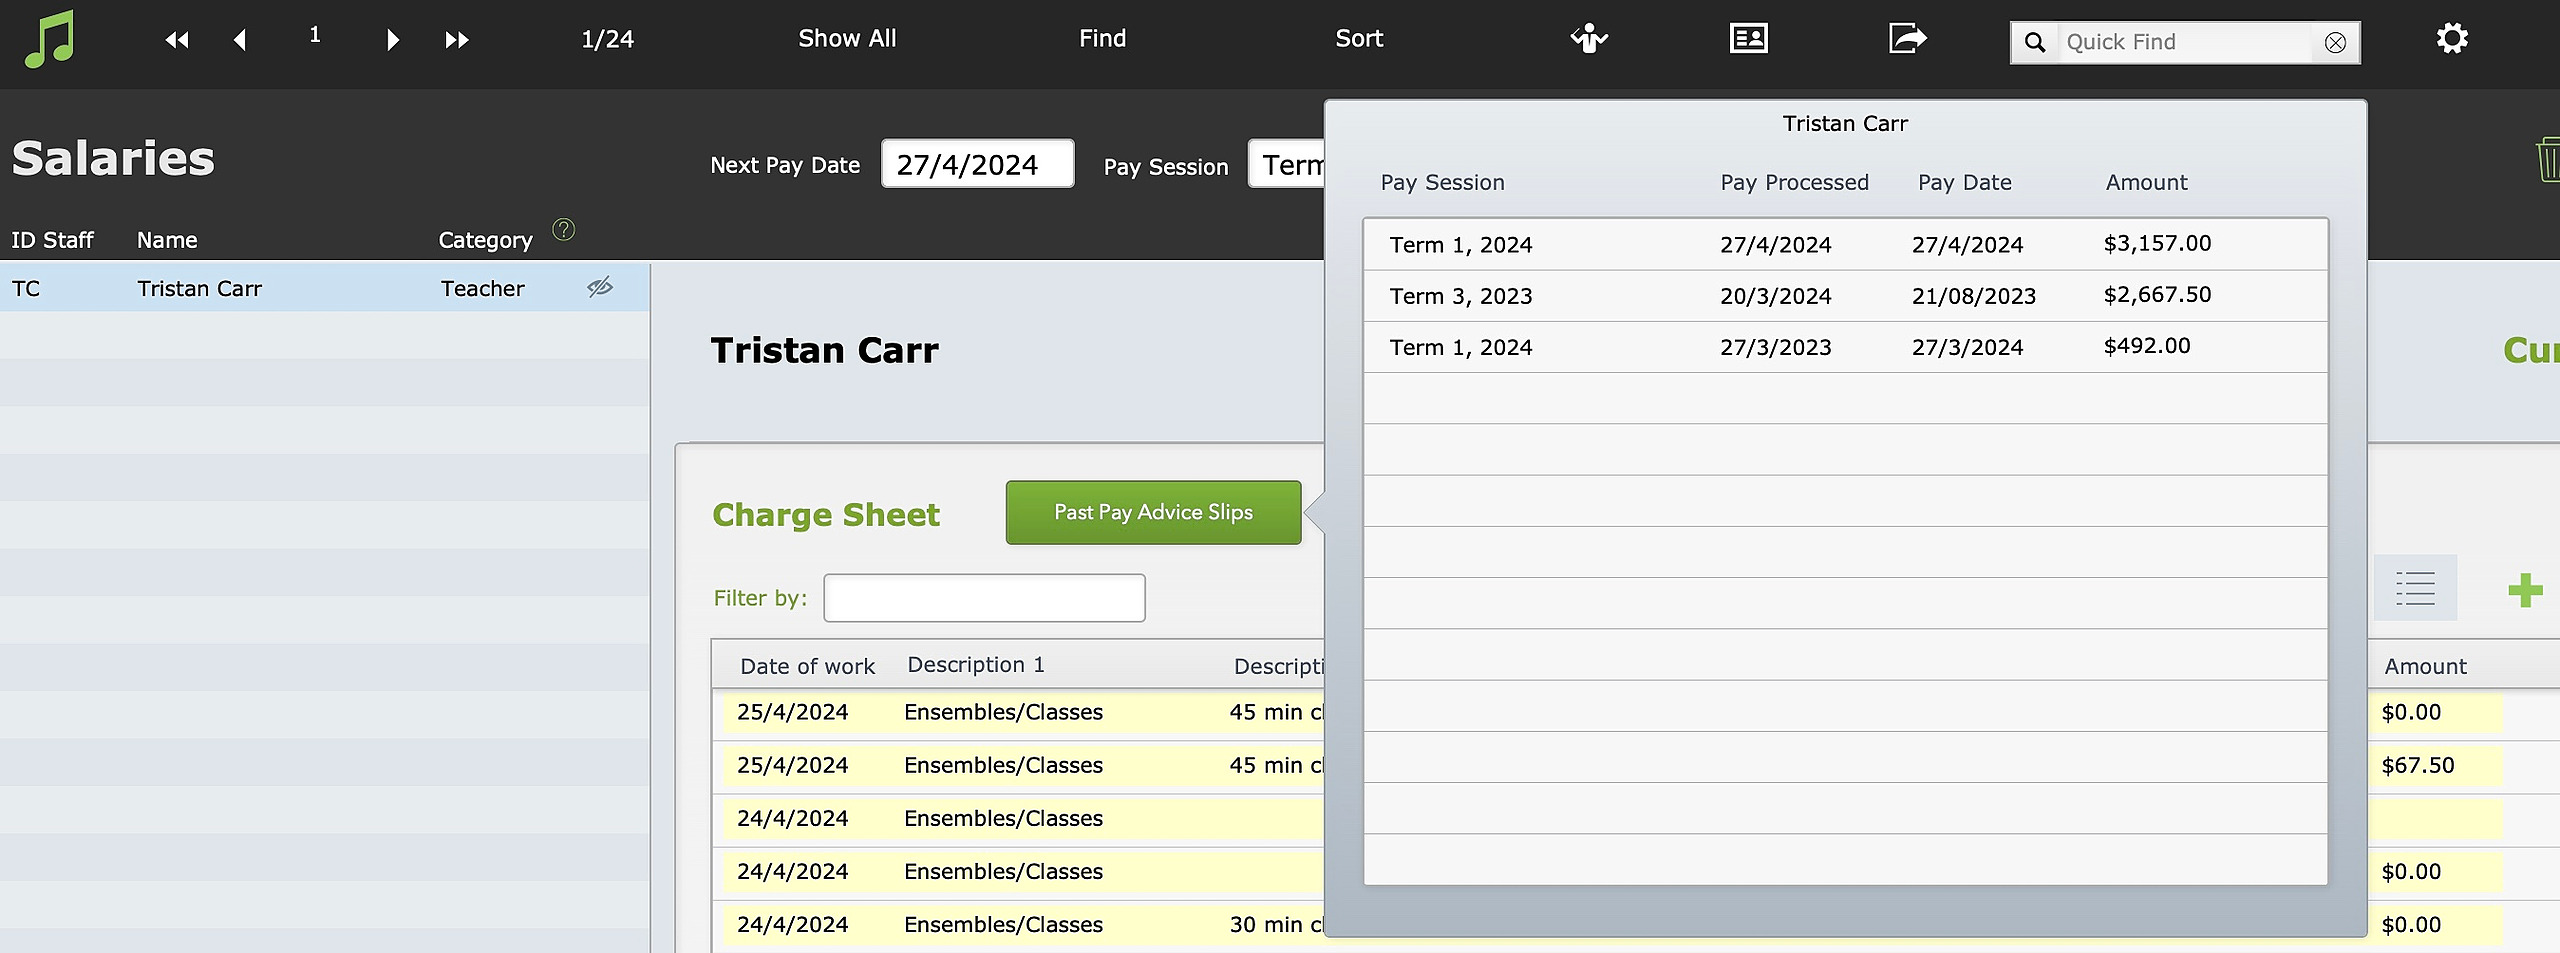
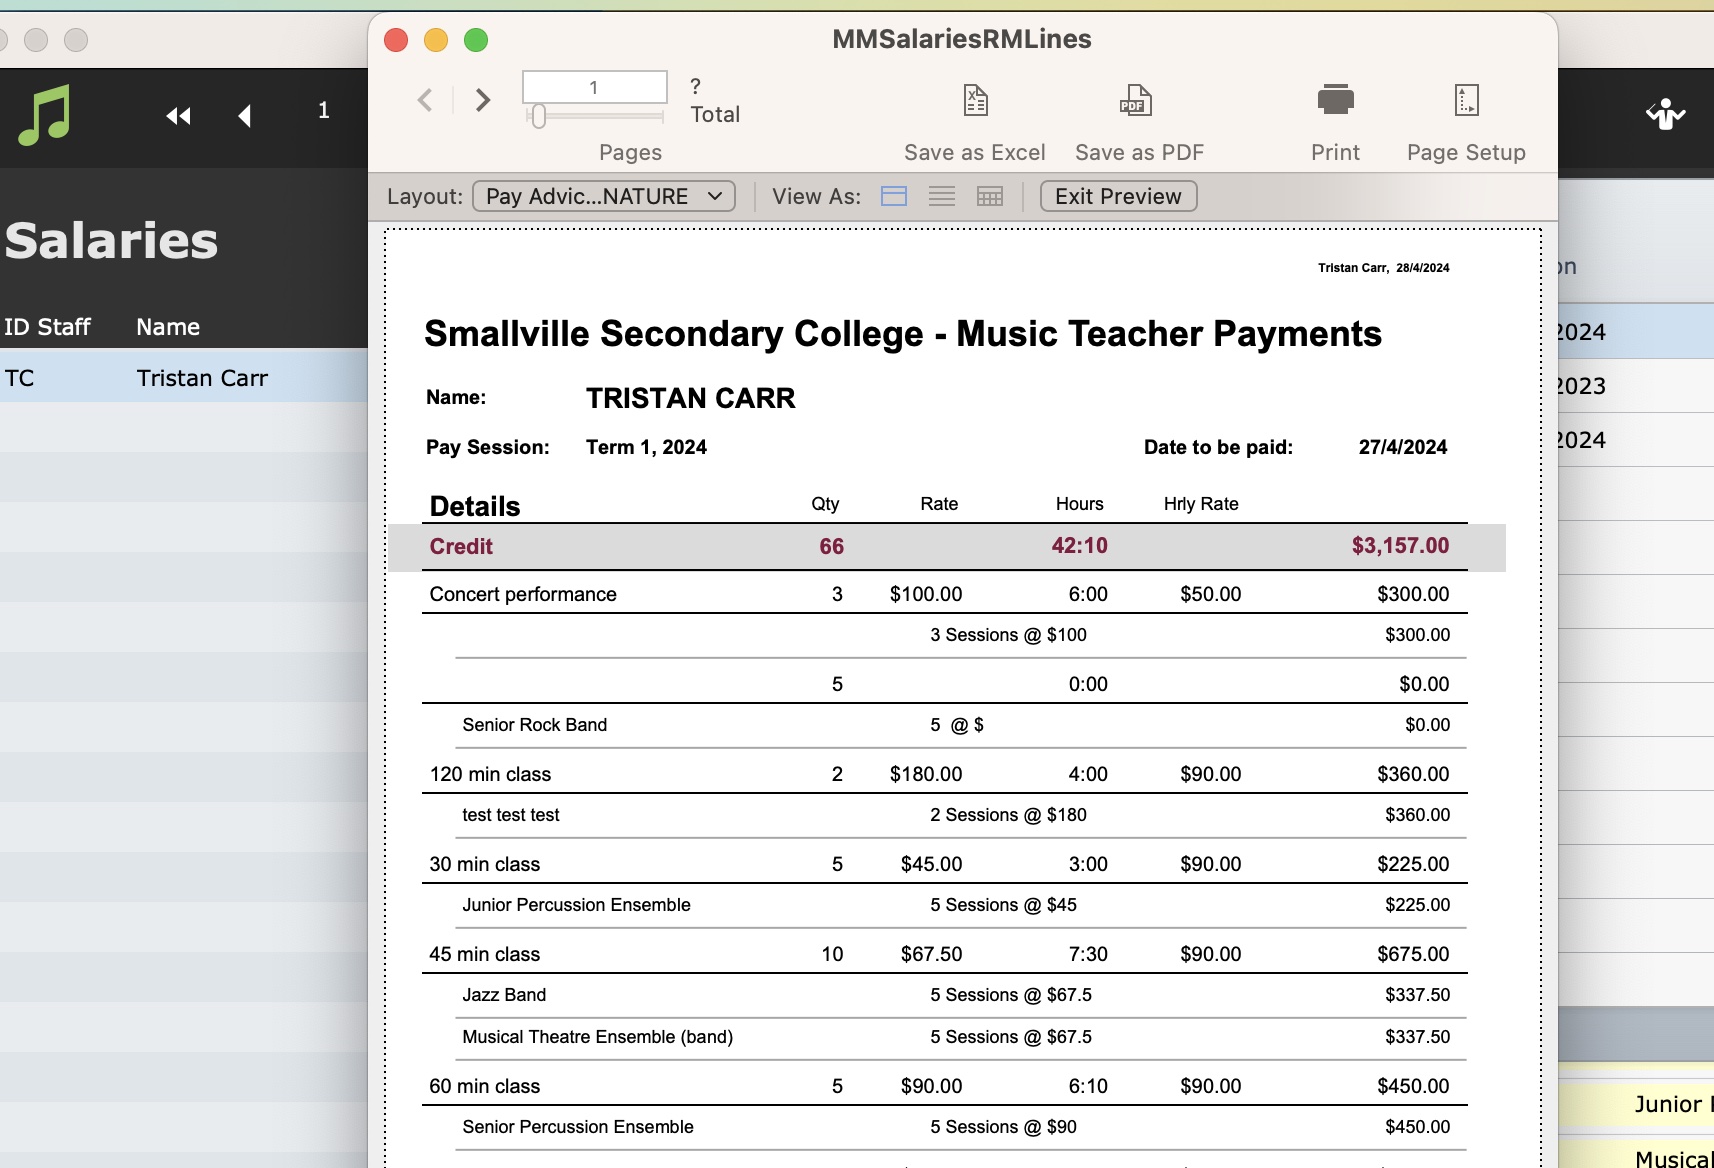
Select the green Past Pay Advice Slips button to open a window that displays all previous pay slips for that teacher.
Select a line to display the pay slip in a new window. From here you can Save as PDF or Print.
Send Student Charges to Student Accounts from Salaries
Additional work for a staff member can be billed to the relevant student if appropriate.
To make use of this, the student must be selected from the drop-down list in Description 3 when the additional work is entered.
To charge these amounts to the student, go to Salaries > Other > Send Student charges to Accounts file.
This will display any charges that have not been sent to accounts.
- You can view the list and close without sending to accounts if you wish.
- You can edit if needed, and then select Continue to send to accounts.

