This article is no longer updated.
Please go to our new Intercom knowledge base to ensure you're seeing the most recent version.
The link above takes you directly to the equivalent article on Intercom.
This article assumes you have gone through the set-up procedures for using the Salaries section (entered pay rates, imported staff into the Salaries file, set up pay dates, etc.). If you're not sure about the setup stage, see the article on how to Set Up Salaries.
Before you do the pay run, you should first check your data. The process for a lot of different checks you can do is explained in the article Salaries Tasks Between Pay Dates.
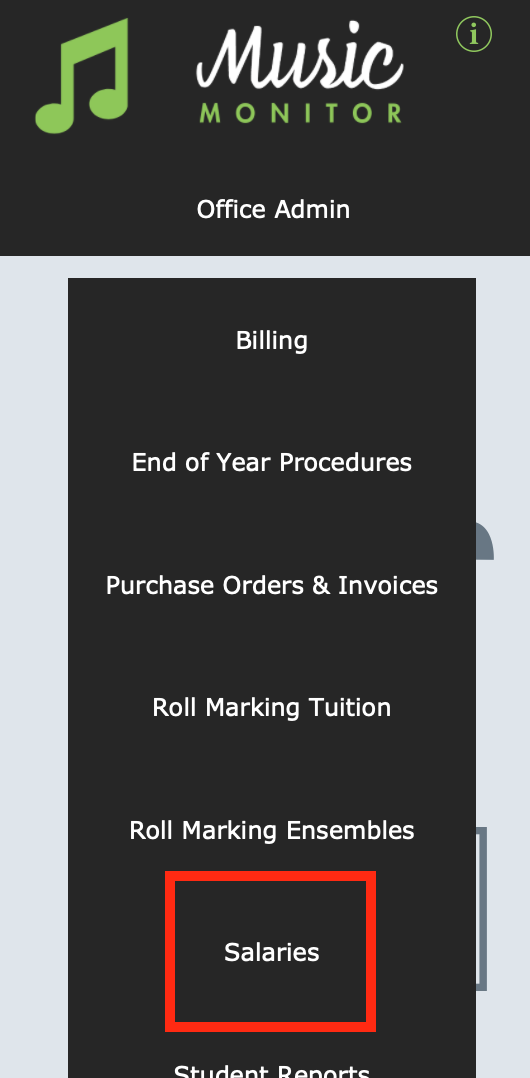
This process is done in the Salaries module, found at Home > Office Admin > Salaries.
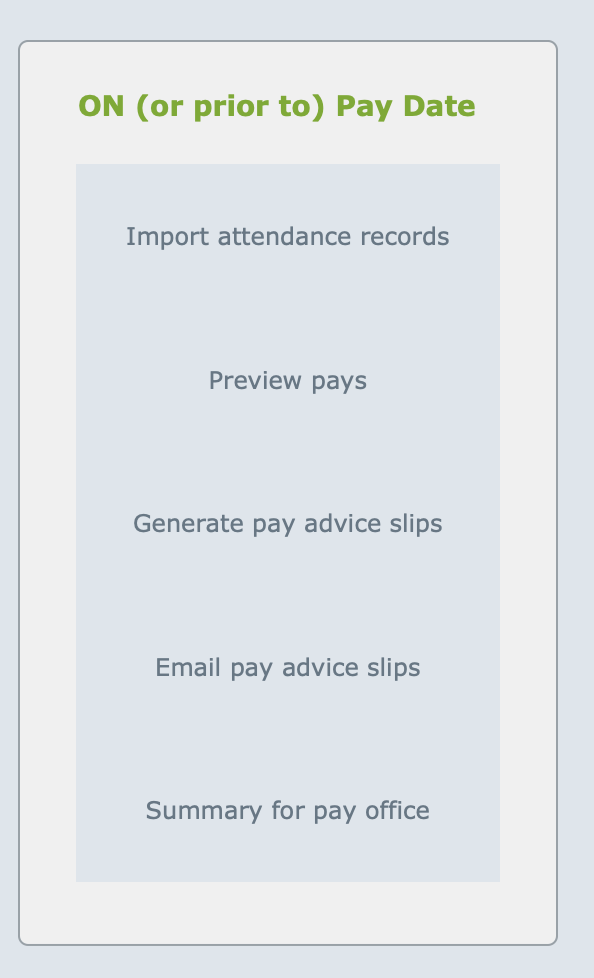
Essentially, this process is to work down the list of buttons in the ON (or prior to) Pay Date section.
1. Import Attendance Records
Select the first button in this section. This will run a script that copies data from the attendance records and creates Salaries lines with it.
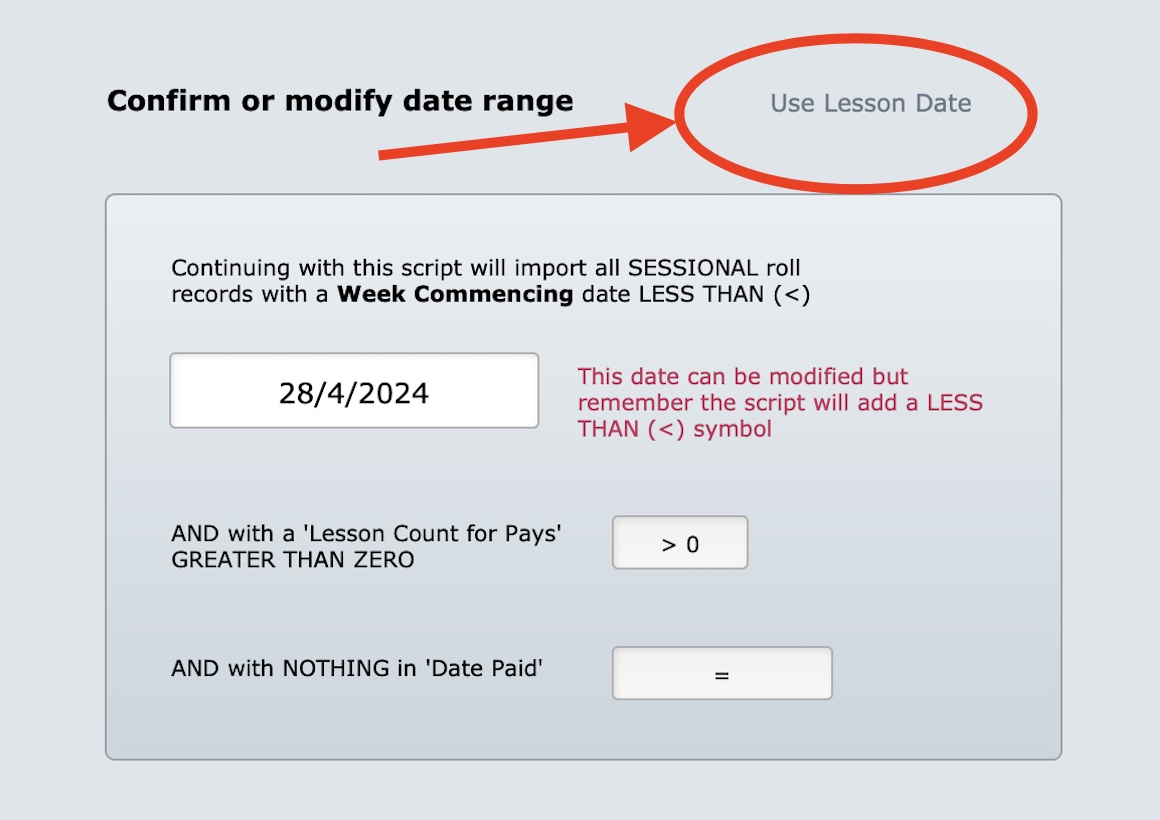
You will now need to confirm or modify the date range for the records you want to import. The default date that appears will be today. Leaving that date in place will cause the script to only bring in all records dated prior to today.
It brings in attendance records that:
- Are dated before the cutoff date you specify for the pay run
- Do not already have a Date Paid listed
- Have a Sessional employment type
- Are marked with an attendance code that triggers teacher's pay
NOTE: When you run this step, Attendance records whose Pay Category is "Salaried" will be marked as paid at this point. but they will not be imported because they do not form part of the pay calculations.
If your pay period runs from mid-week to mid-week (eg. all work completed up to and including Thursday, but not Friday of the past week), select the button to Use Lesson Date instead of Week Commencing.
Then select a date from the calendar.
Only lessons marked on the roll with a lesson date prior to this date will be imported.
When the records are imported, the Attendance records will be marked with a Date Paid of today.
Note that the new Salaries records that are being created will not be marked as paid yet.
2. Preview Pays
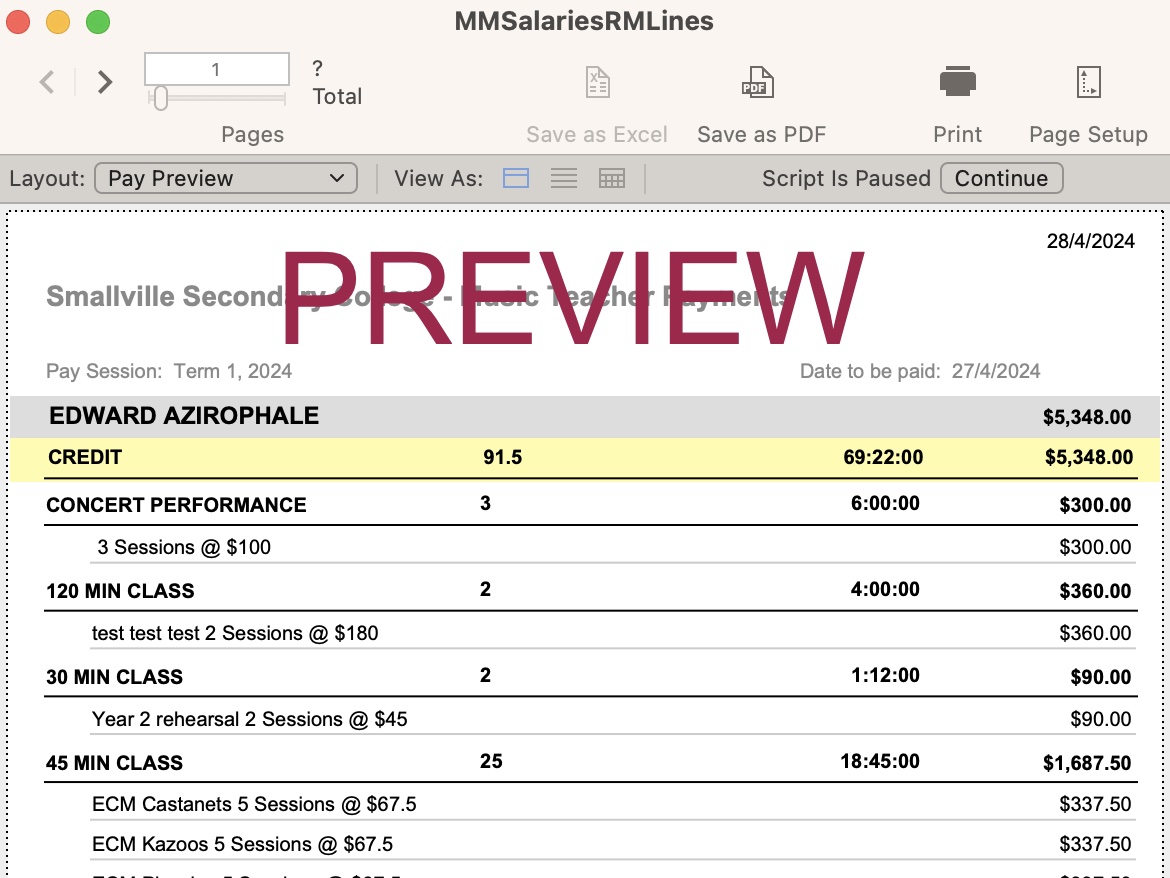
Select the Preview Pays button to check the amounts that are going to be paid. The previews look similar to but ARE NOT the pay slips. If you need to run the pays past anyone else before printing them (eg. the Director of Music), this is a good screen to print. It also gives you a chance to pick up on and fix any errors before running the pays. (Much better to make changes at this point, rather than having to UNDO a pay run!). Select Continue at the top right of the preview screen to return to the Salaries menu.
If you do discover any errors that need to be fixed, you can either select the Add to or EDIT Charge Sheet button or the Pay Slips & Charge Sheet button to view a teacher’s records under their name. OR if you want to view ALL unpaid records, you can select the All Adjustments button. This takes you to a screen where you can search for and view (and then edit if necessary) particular records.
3. Generate Pay Advice Slips
When you’re happy with the preview, you can print the pays by selecting the next button, Generate Pay Advice Slips.
This process cannot be reversed (well, not without getting someone from the MM Team to help you), so make sure you’ve done as much checking as possible before selecting this button.
You will see a warning and need to confirm that you wish to proceed. Then Music Monitor will mark all your Salaries lines with a Date Processed and bring you to a screen where you're asked to select the date of the next pay.
At the end of the process you will be asked to select the next pay date. The dates you're choosing from are ones you've created in the setup process.
At this stage, ALL the records will now be tagged as paid in this Salaries file.
Select the red Menu button at the top right to return to the Salaries menu.
If you’ve reached the end of the session and have run out of pay dates, go back to the Menu, and select Enter pay dates and headings under the Beginning of Term heading.
4. Email Pay Advice Slips
Teachers can view their own pay slips from their Home Screen > Payments > View Pay Advice Slips. You can also EMAIL the pay slips to the teachers from the Salaries menu.
However, most schools email payslips from their main finance system, and not from Music Monitor, and so they just skip this step.
5. Summary for Pay Office
Your pay office may want a copy of the pay slips, or they may just require a summary. This is the final step in the process.
Select the button Summary for pay office.
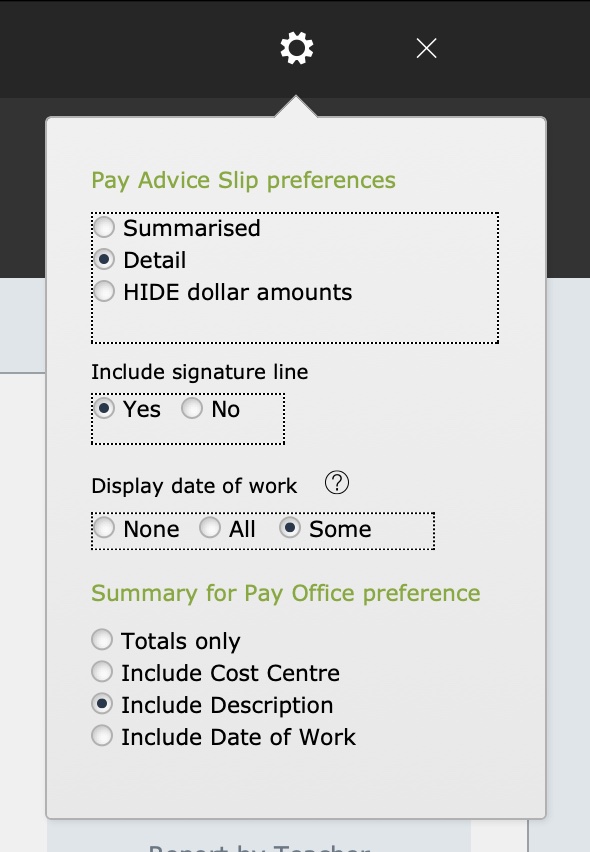
There are several options for producing a Summary for Pay Office. Select the Settings button at the top right of the Salaries Menu screen to see the options.
Some of these options also include other sub-options. We recommend trying them all to determine which one your pay office prefers. Then leave that radio button selected for next time.

