Music Monitor is built on Claris FileMaker, and its powerful searching functions come directly from the capability of that software. Although in most views there is a user interface over the top of the main database, it performs the same searches, and you can usually opt to view and use the native database menu if you wish.
Quick Find
Many key screens have a quick find bar at the top.
If you enter a search term in there, Music Monitor will search for that term in some of the most commonly searched fields in the file you're looking in. It's an easy way to find students in the Student file, for example.
If that doesn't bring up the results you need, see below for more ways to search.
Do Your Own Find
If you can see it, you can search by it.
The Find button in any file allows you to search for any data you have entered in your files.
The Find screen looks just like the List view, except the fields are all blank.
Enter one or more search terms.
For example, if you want to find all Yr 7 students who are enrolled in Trumpet lessons, select 7 in the Yr Lev field, and Trumpet in the Subject field and hit Enter or select Perform Find.
You can add multiple finds together. If you wanted to find the Yr 7 students enrolled in Trumpet or Clarinet, you would fill in the search as above, and then select the green + button to add a new search line. There you would select 7 in the Yr Lev field and Clarinet in the Subject field. Performing that find will bring up the results of both searches in one list.
Complex Finds
FileMaker allows you to undertake much more advanced finds than this.
Omit Records
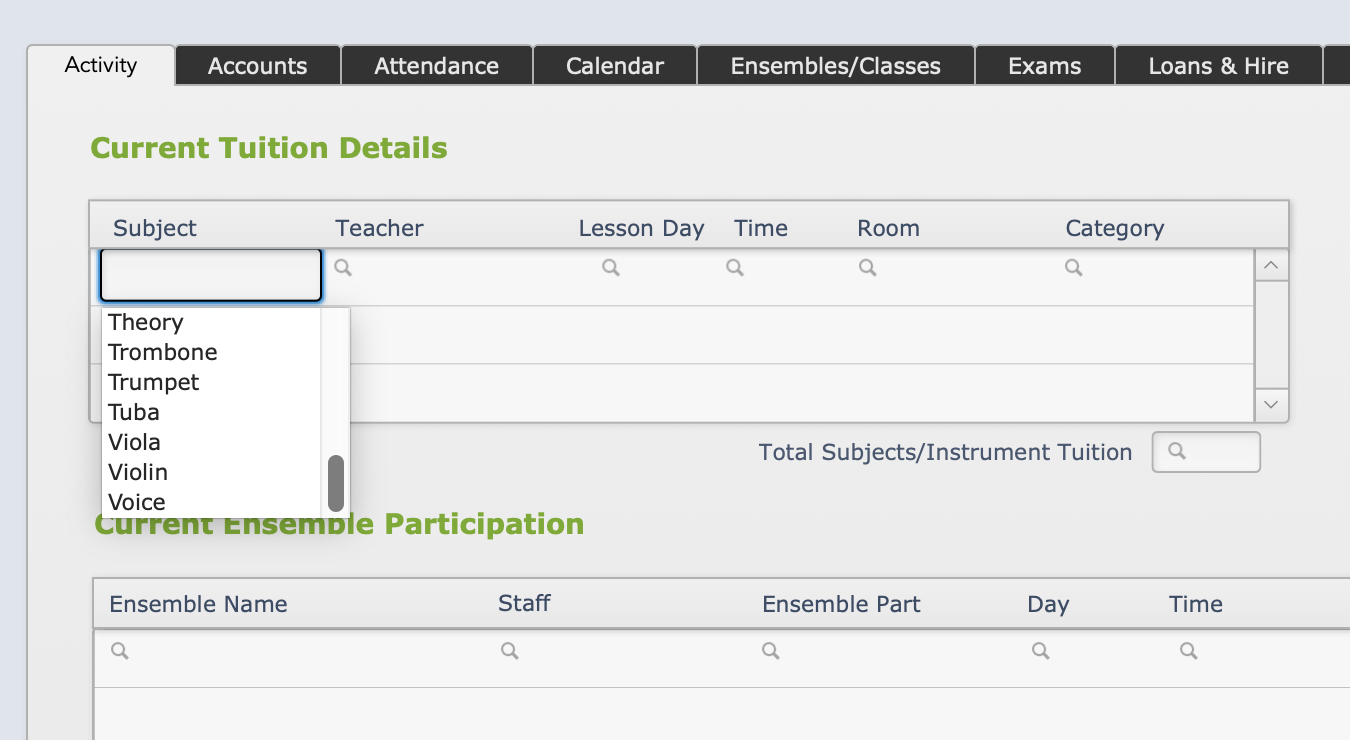
If you want to find all your violin players who are not yet enrolled in the orchestra, you can search for all current violin enrolments, and add a new line to omit those who have an orchestra enrolment. You would do this from the Activity tab in the Students file.
First enter Violin as the search term under Subject.
Then use the green + button to add a new search line.
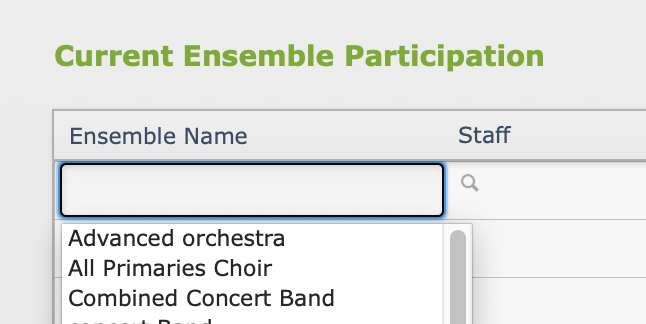
Then select the orchestra under Ensemble Name.
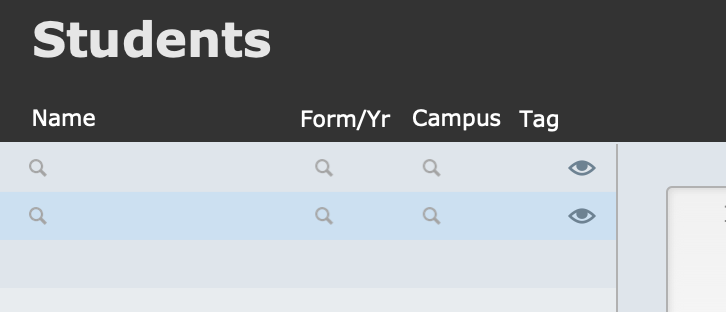
Your two search lines will appear in the left bar.
Because these searches didn't use the Name, Yr, or Campus fields that are shown in that side bar, they appear blank there, so you need to remember which is the one that has the orchestra enrolments. (If you forget, select the row in the side bar and it will show your search terms in the main window.) In this case it's the second one, so you select the grey eye symbol, which will change to show that it is omitted.
Performing this search will find all students with current violin enrolments, and then omit from the list any that have a current enrolment in the orchestra you selected.
If you have multiple orchestras and you want to omit all of them from your results, you can do this. Instead of selecting the specific orchestra from the drop-down list, click again in the Ensemble field and type "orchestra", and then still go ahead and set that search row to Omit. The find will then omit any results that have the text "orchestra" in their current ensemble enrolments.
Search Operators
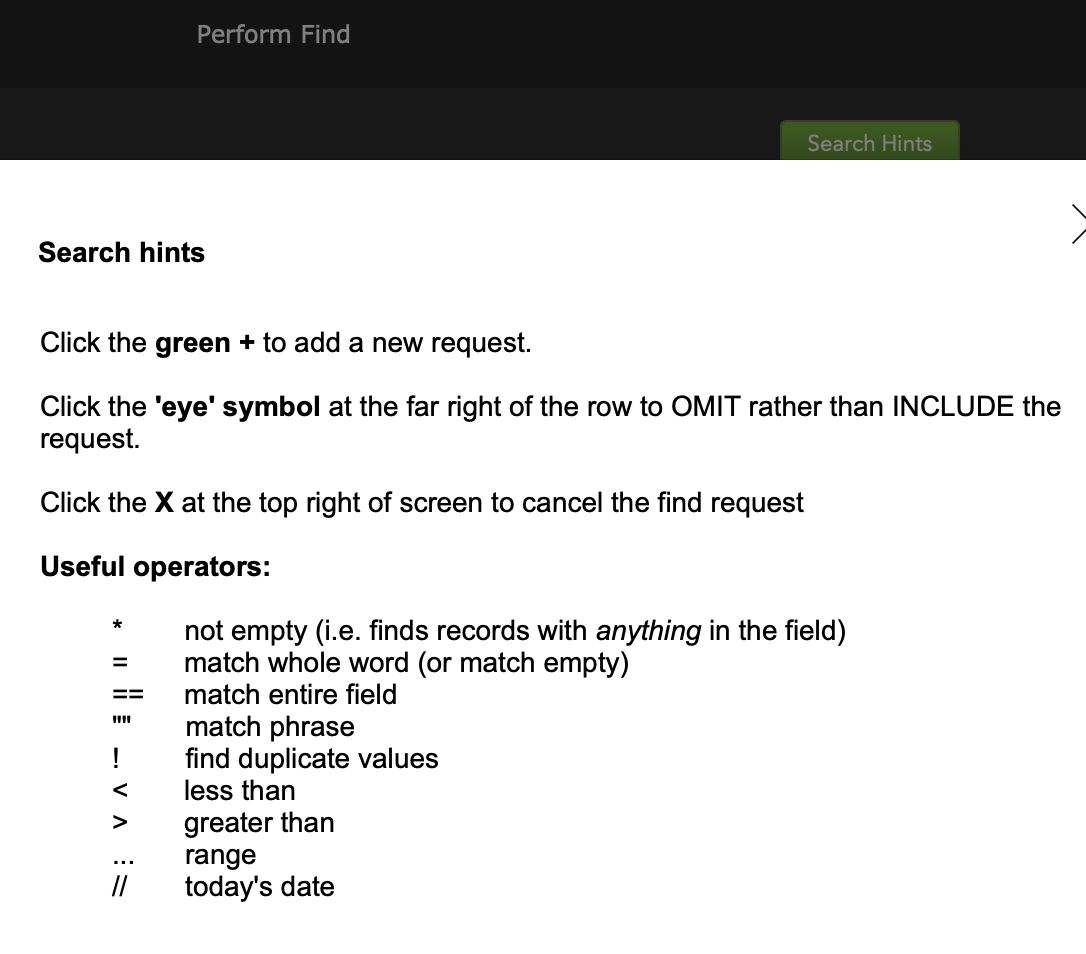
FileMaker has a number of operators that allow for more advanced searching. When you use these symbols in a search, they perform a specific function.
Most Find screens have a green Search Hints button that will display the following list.
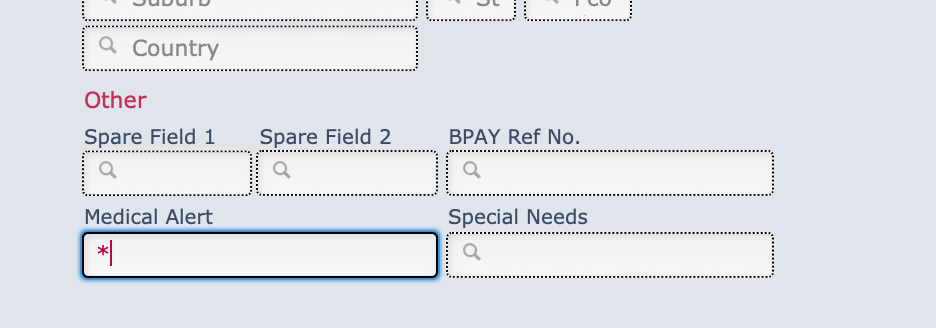
So, for example, to find all students with anything entered in their Medical Alert field, you would
- Go to Students
- Open any individual student record
- Select the red Personal & Family Details button
- Select Find in that screen
- Type an asterisk (*) in the Medical Alert field
- Perform Find.
To find records that have nothing in a given field, enter an equals sign (=) and nothing else in that field. That operator tells FileMaker to search for exactly what follows the equals sign, which in this case is nothing, so it will find records with nothing in that field.
To search for a range of results, enter three dots in between the two values. For example, enter "14/2/2024...14/7/2024" to search for records that have a value in that date range in the field you're searching.
Note that in FileMaker, dates must have a full 4-digit year, otherwise it will search for the year 24 AD instead of 2024.
Table View
Not every field is visible on the list view screen. But at the bottom of the screen is a Super Users button.
Select that to see a Table View, with many more fields now visible.
All of these fields are, of course, searchable. And if the field you want to search by is still not visible, you can Modify the table to include it.
If you're adding a field that you want to remain there for future use, you can save your changes. Otherwise, you can modify it for just your use now, but next time you open this view it will no longer be there.
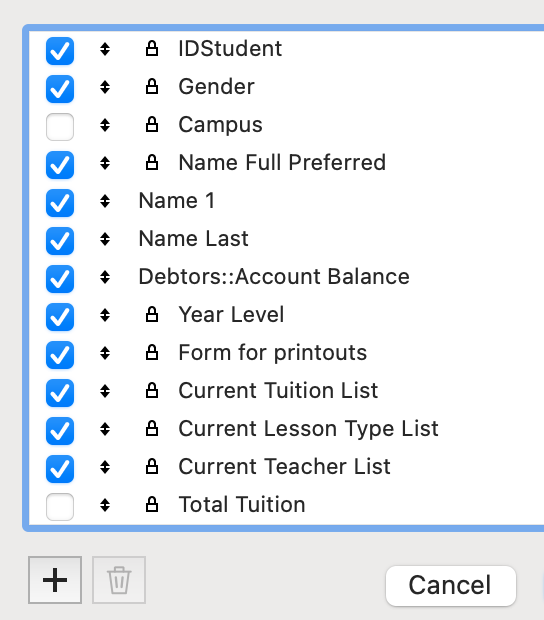
The Modify dialogue shows all the fields that are listed in this view, even some that have not been marked visible. You can tick them to include them again. If they're not listed at all, you can use the + button at the bottom to add more.
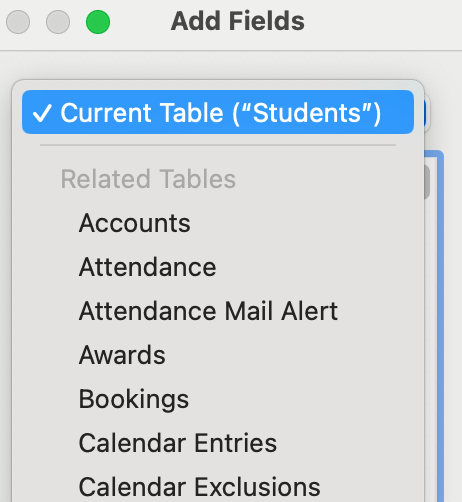
If you're adding more fields, you even have the option to bring in fields from other tables besides the one you're searching in. For example, if you want to find students based on criteria including awards they have received, you can search in the Students file and include fields from the Awards file.
Modify Results
Even after conducting your Find, you can still work further with the resulting list to get to exactly what you need.
Constrain Your Results
If you forgot to include a particular search criterion, or just want to further refine your results after performing the search, you can restrict the found set to only those that have a certain value in a certain field.
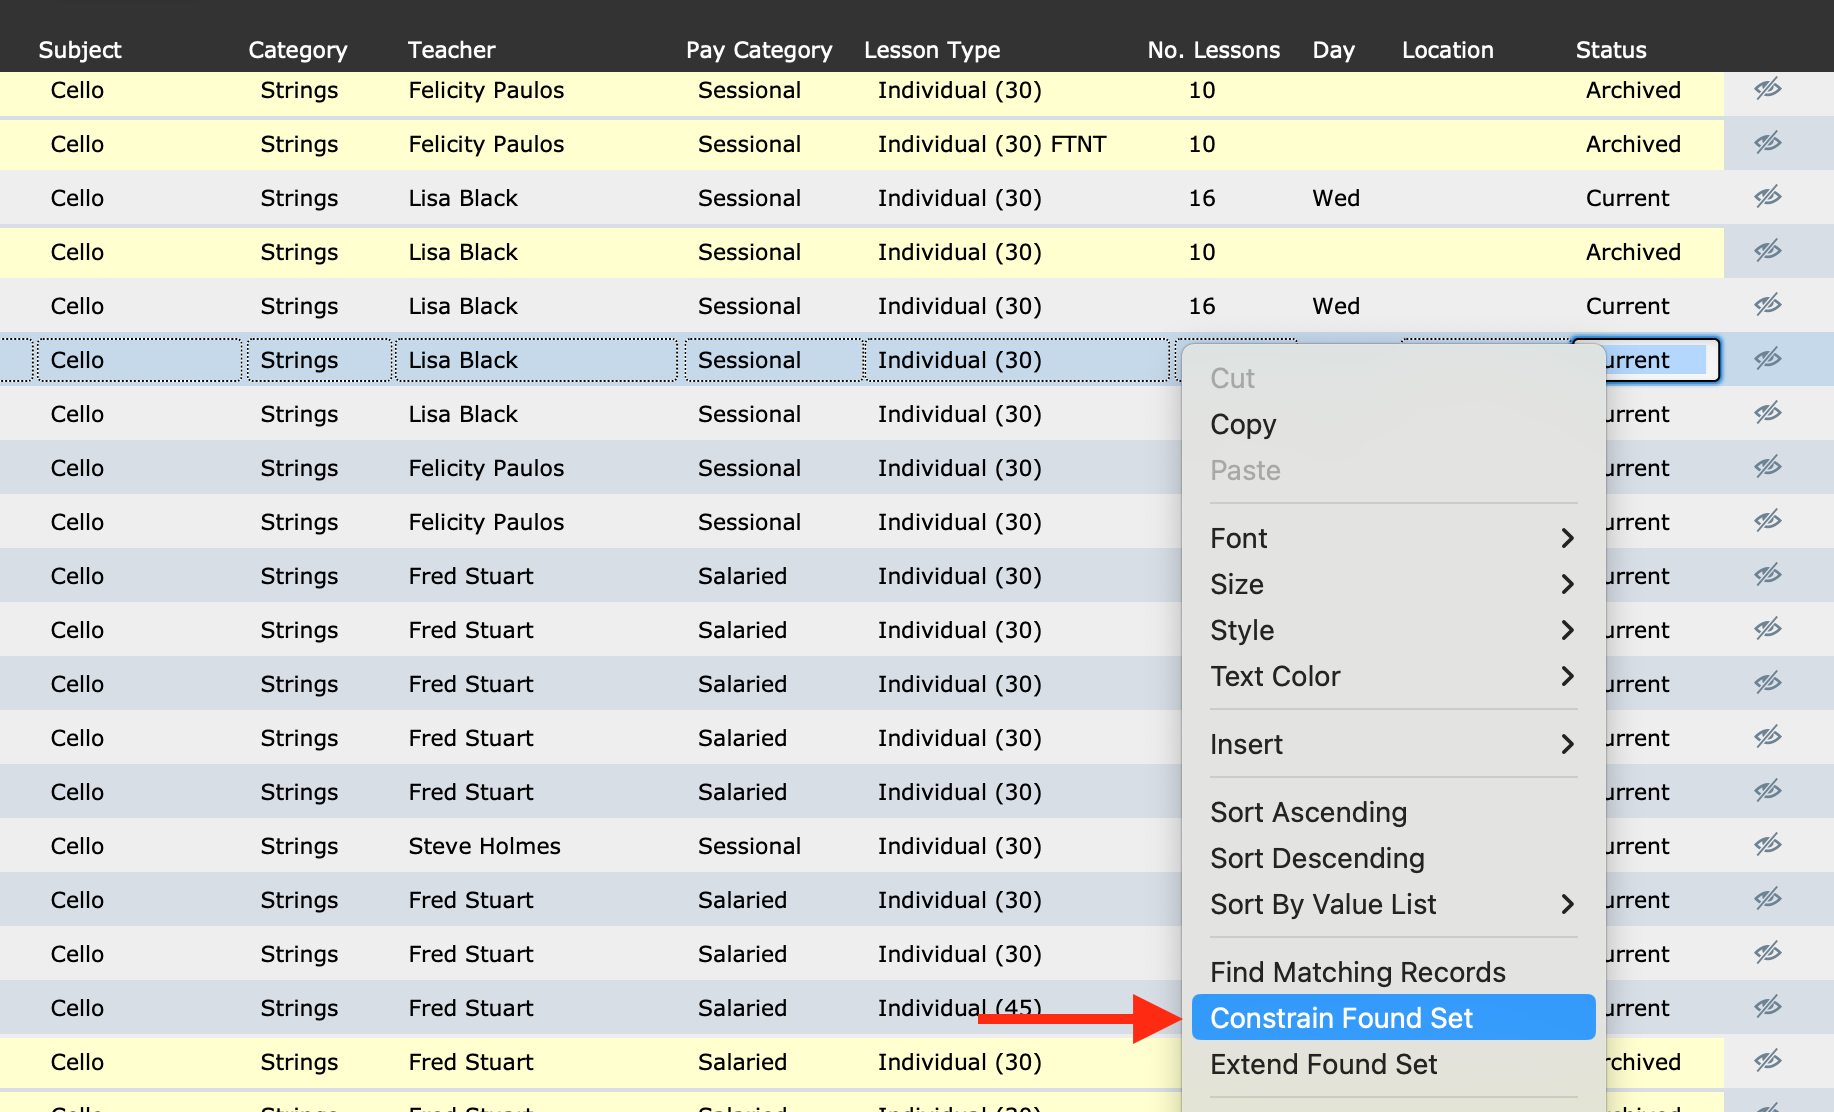
For example, you searched in Tuition Enrolments for Cello students, but you forgot to specify only current enrolments. Find a record in the list that does say Current, right click on the entry in that field, and select Constrain Found Set.
That will filter the list down to only those that say "Current" in the Status field.
Note that some fields block you from clicking in them, in order to prevent changes that would cause problems. You can only constrain by a field if you can click in it.
Omit Some Results
You may wish to just remove some specific results from your list.
In the list view, you can select the Eye icon at the end of a row to omit that record from the list.
You can also use the menu in the top bar.
Make sure the record you want to omit is selected. In some views, when you select the record it will open the form view. Just select the List View icon to return to that view, and the record you opened will be selected.
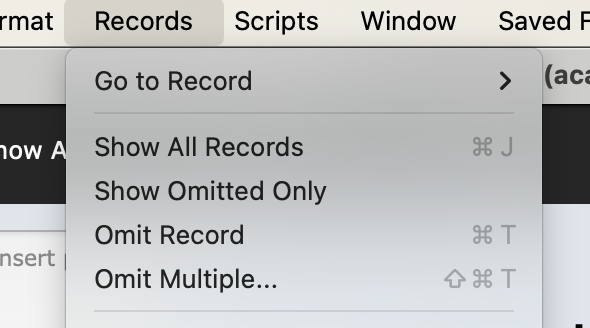
Then select Records > Omit Record.
You can also omit multiple records in one go, using the option you see there. When you use this function, you will be asked how many records to omit. Once you confirm, the selected record and those below it, up to the number of records you specified, will be omitted. If the number you enter is more than the number of records below the selected one, you will be given the option to just omit the available number instead.
Sort Your List
In some views, you will have a Sort option built into the Music Monitor interface.
And you can always select Records > Sort Records... from the top bar.
The Sort menu looks like this.
The left-hand box shows all available fields. The sort order is shown in the right-hand box.
- To include a field in the sort, you need to select it on the left and select Move in the middle.
- To remove a field from the sort, select it on the right and select Clear in the middle.
- To change the order of the included fields on the right, select the tiny arrows before the field name and move it up or down.
Reverse Your Search
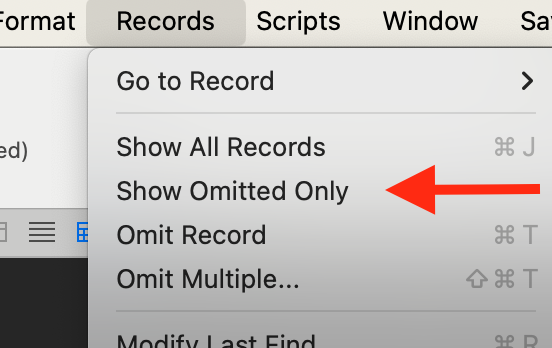
If you have found a set of results and now you want to find everything except those in your list, go to the top bar and select Records > Show Omitted Only.
Tag Students
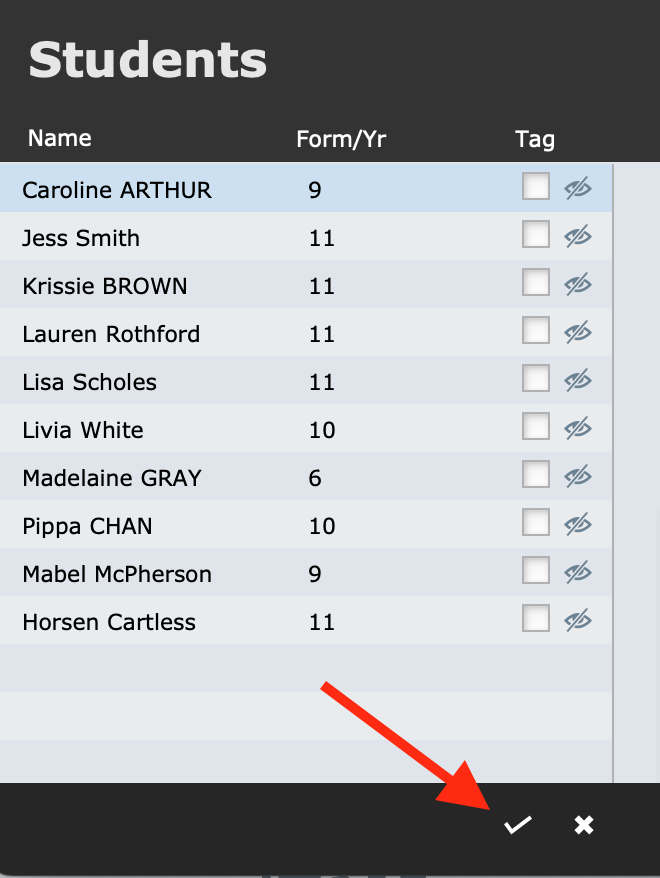
To give you even more flexiblity in finding lists of students, Music Monitor now allows you to temporarily tag students to build up a list with multiple separate searches.
For example, you may perform a find to bring up a list of students, but you don't want to add all of them to your list, so you omit individual students to make a custom list. You can then select to tag all the students on your current list.
You can then find students individually and tag them, and you can perform further searches and tag your resulting lists.
Once you have tagged all the students you want to bring up, select the blue Show tagged records button to bring up all the tagged students in one list.
You now have a Found Set composed of all the students you found in all your searches, and you can do whatever you need to do with the list:
- Send email
- Enrol in an ensemble, workshop, excursion
- Much more
This tagged list will be unique to you. Other Music Monitor users can be creating and using their own tagged lists at the same time.
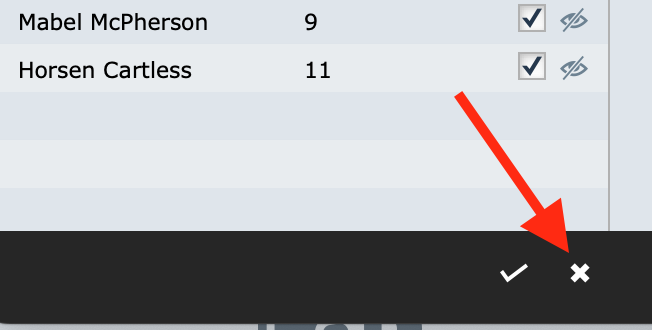
Once you log out, your tags will be removed. You can also remove the tags with the x button.
Change View
You will see that when you're in Table View, the top bar changes to a grey one.
That is the native FileMaker menu, without the Music Monitor user interface over the top.
If you select Find on there, you will see the menu look like this.
So instead of using the green + button to add a new search line, you now select New Request.
And instead of having an eye icon to include or omit search results, you now use the Include or Omit buttons.
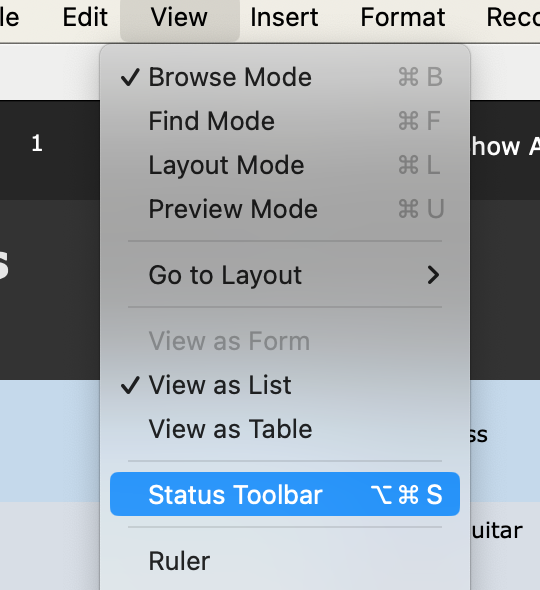
Even in the standard view, you always have the option to bring up this menu bar. Go to View > Status Toolbar.
Coming soon: a new Knowledge Base!
You're welcome to explore at https://help.musicmonitor.com.au, but we will announce when all articles are migrated across.


