This article is no longer updated.
Please go to our new Intercom knowledge base to ensure you're seeing the most recent version.
The link above takes you directly to the equivalent article on Intercom.
To use this feature, the following setup is required.
Azure Active Directory
First, Music Monitor needs to be added as an approved app to the school’s Azure Active Directory.
This is usually a task for an IT department or provider. Instructions from Claris on how to set that up are given at https://support.claris.com/s/article/Sending-email-with-OAuth-2-0-authentication-Google-and-Microsoft?language=en_US#Azure.
Follow the steps under Set up Microsoft Azure, which is the section of the guide that the link directs to.
- Stop when you come to the part about setting up the FileMaker Server Admin Console - you don't need that set up.
In this process, make a note of:
- Application (Client) ID
- Directory (Tenant) ID
- Client Secret Value.
Email Account Details
Second, all users in Music Monitor need their Outlook Email Name and Email from address entered next to their login account name.
To enter them manually, go to Home > Settings > Manage Login Accounts.
and enter the Email Name and Email From Address
Alternatively, if you have a lot of users, and if their emails have been entered in Contacts, we can run a process to quickly auto-fill this for you.
OAuth Settings
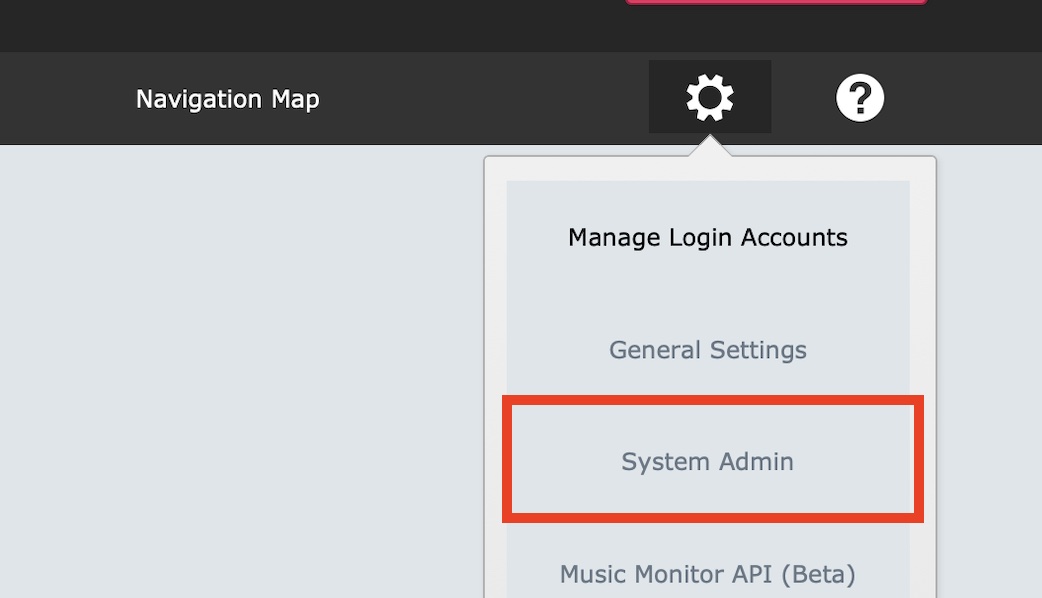
Third, the Client ID, Tenant ID and Secret Value need to be entered in the OAuth settings in Music Monitor. From the Home screen, select the Settings wheel, then System Admin.
Turn it on using the black button after filling in the details.
To test it's worked, someone needs to log out and log in again, and then send an email from the Students file. Instead of popping up an email in Outlook for you to send, it will simply send the email directly in the background.
If you're using the new Outlook or viewing your Outlook as webmail, the sent email should show quickly in your Sent folder. In the old Outlook, it doesn't bring in sent items that weren't sent from that particular installation.


